In 2005, a Russian amateur astrophotographer named Pavel Bahtinov invented a filter which would revolutionise astrophotography. This filter was aptly named the Bahtinov mask, it is a precision tool to help focus telescopes and longer focal length lenses when photographing the night sky.
Sounds good right? Well, as handy as the Bahtinov mask is for telescopes and longer focal lengths, it doesn’t really work for the wide-angle lenses used in most wide-field astrophotography.
This problem has been solved by Hungarian Astro Photographer Gábor Takács. He took the basic premise of the Bahtinov mask and refined it into the high precision focusing tool for landscape Astrophotography which he named 'Focus On Stars’.
So what is the Focus on Stars exactly?
The Focus on Stars is a high-quality glass filter with a much more intricate design, effectively like having multiple Bahtinov masks in a single filter. This refined intricate design creates much more vivid diffraction spikes, making it much easier to achieve critical focus on stars, even with an ultra-wide angle lens.
Gabor does a great job of explaining things on his website, so I'd recommend reading through it and watching the videos here
Size Options
There are 2 different sizes of the Focus on Stars filter, these are based on the industry standard 100mm x 100mm and 150mm x 150mm filters which landscape photographers will already be familiar with and will likely already have a filter holder/system to use the Focus on Stars filter with. Which size of the Focus on Stars filter you choose will depend on the camera system and the lenses you own.
The 100mm system is usually used with lenses that have a filter thread diameter of up to 82mm, this usually covers more common wide to telephoto lenses (16mm - 200mm). The 150mm system is used on ultra-wide angle lenses which need special adaptors to enable them to accept standard filters such as Sony FE 12-24mm GM, Nikon 14-24mm F2.8 F-Mount, Samyang 14mm F2.8, Sigma 14mm f/1.8 DG HSM Art, Canon EF 14 mm f/2.8L II USM, etc.
I am currently using the 100mm version as the newly released Nikon Nikkor Z 14-24mm F2.8 lens can accommodate 100mm filters thanks to a special adaptor ring developed by Haida Filters. (Previously, any ultra-wide angle lens required the larger, heavier and more expensive 150mm filter system.
Focus on Stars 150mm and 100mm filters
Using Focus on Stars filter
The Focus on Stars filter is incredibly easy to use. The following steps are my workflow for setting up a night shot:
Find a composition which works and set up my tripod and camera (Ensuring that the tripod is stable and there is no movement).
Set the focus to infinity on the lens as a starting point (If the lens is too out of focus, to begin with, the diffraction spikes will not be visible).
With my camera mounted to the tripod, I loosen the ball head and move the camera around to find a bright star and place it in the centre of the frame.
I mount the Haida M10 filter holder to my lens and slide the Focus on Stars filter into the filter holder.
I zoom in digitally in live view and carefully rotate the focus ring on the lens until the diffraction spikes are perfectly symmetrical.
I carefully remove the Haida M10 filter holder with the Focus on Stars filter still attached and place this in my filter pouch (I leave the filter in place as I may need to refocus later if I accidentally bump the focus ring).
I rotate my camera back to the original position and re-frame my composition.
I take a high ISO / Short Shutter Speed test shot so that I can review my composition and check to ensure focus is spot on.
I then dial in the ideal settings and begin shooting my sky frames.
Once done from my sky frames, I focus on the foreground and take a separate foreground exposure.

First Impressions
I will be honest, I wasn’t sure I would find much use for the Focus on Stars filter as I have been shooting Astro for many years and learned the sweet spot for the focus of my lens, however, using the Focus on Stars filter has actually shown me that what I thought was perfect focus previously was not always the case, sometimes I was a tiny bit off with my focus.
Since using the Focus on Stars filters, I can confidently say that I now get perfect focus 100% of the time. It takes less than one minute to mount the filter, set focus and remove it, but it is definitely worth it as the resulting images are incredibly sharp!
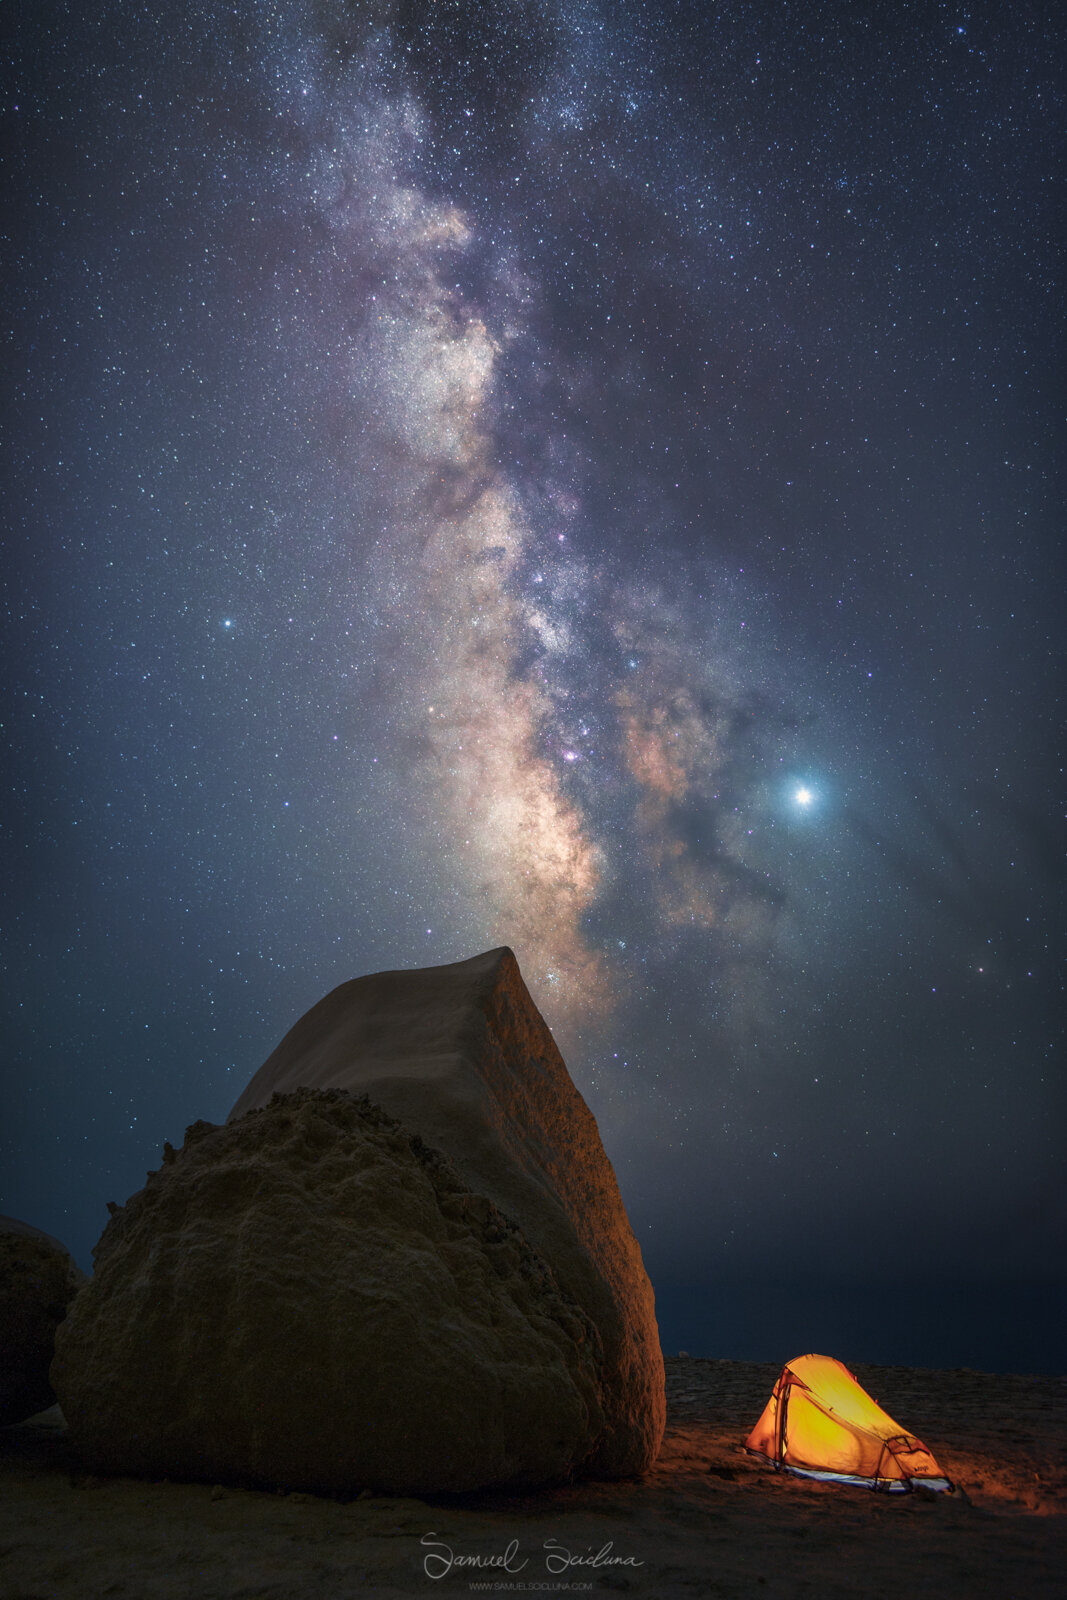
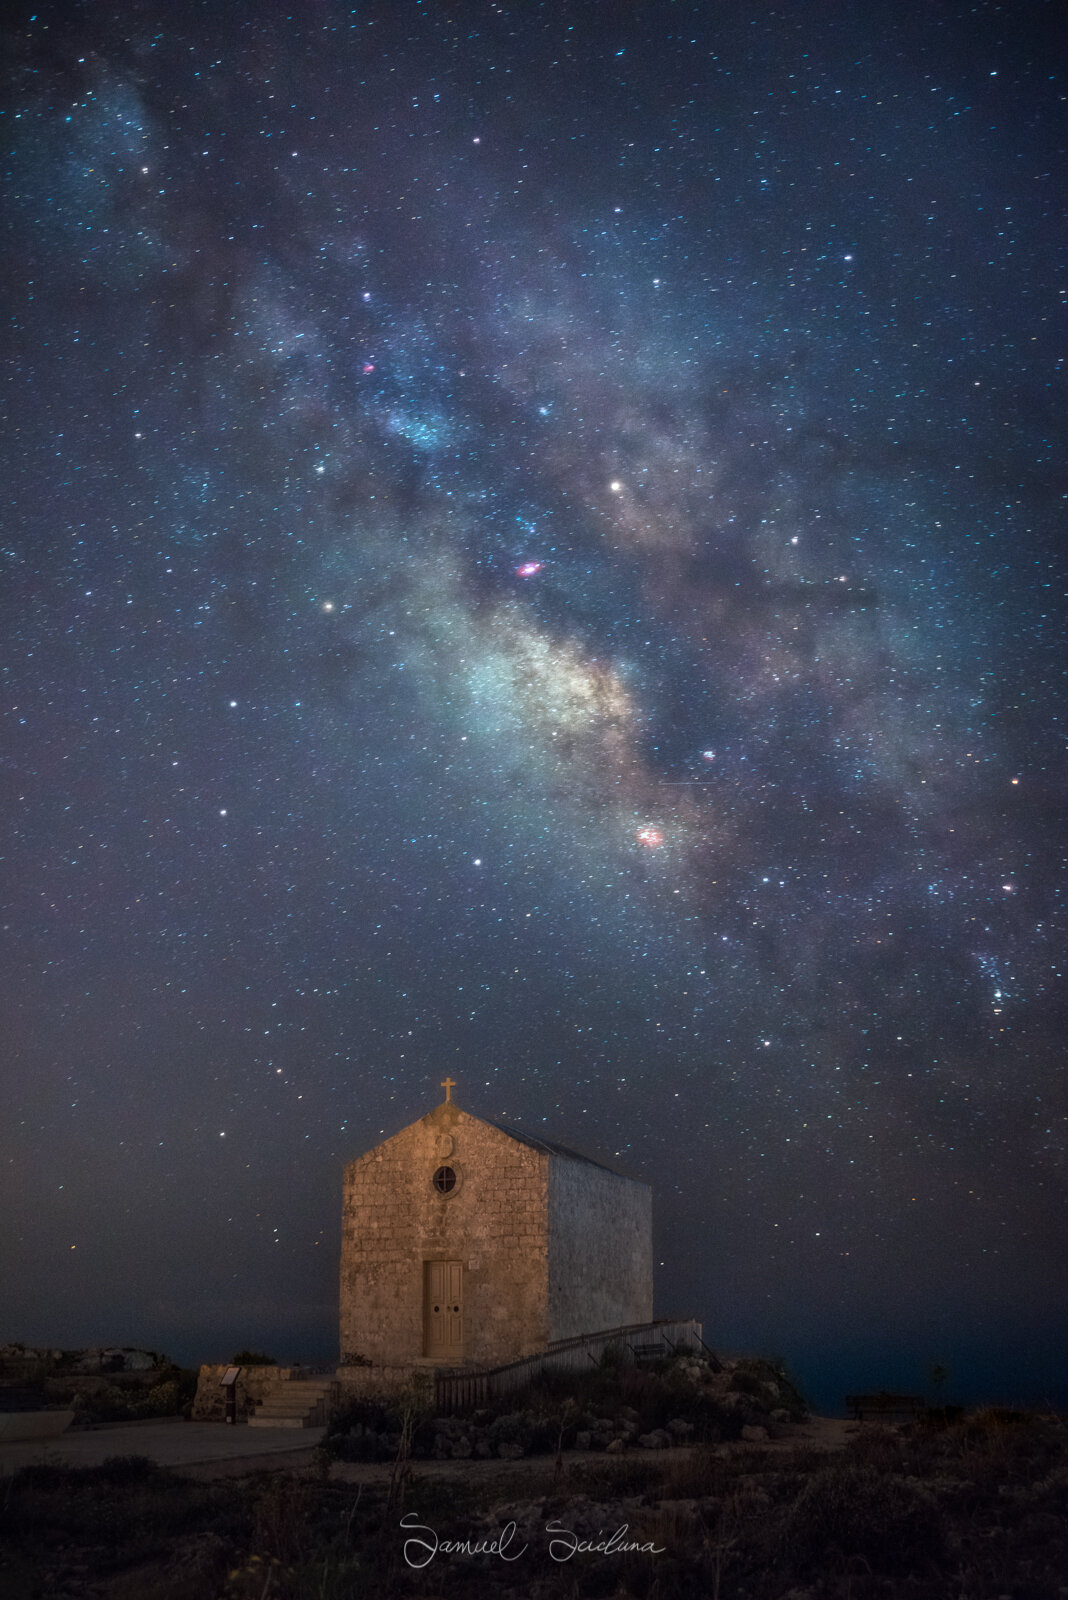
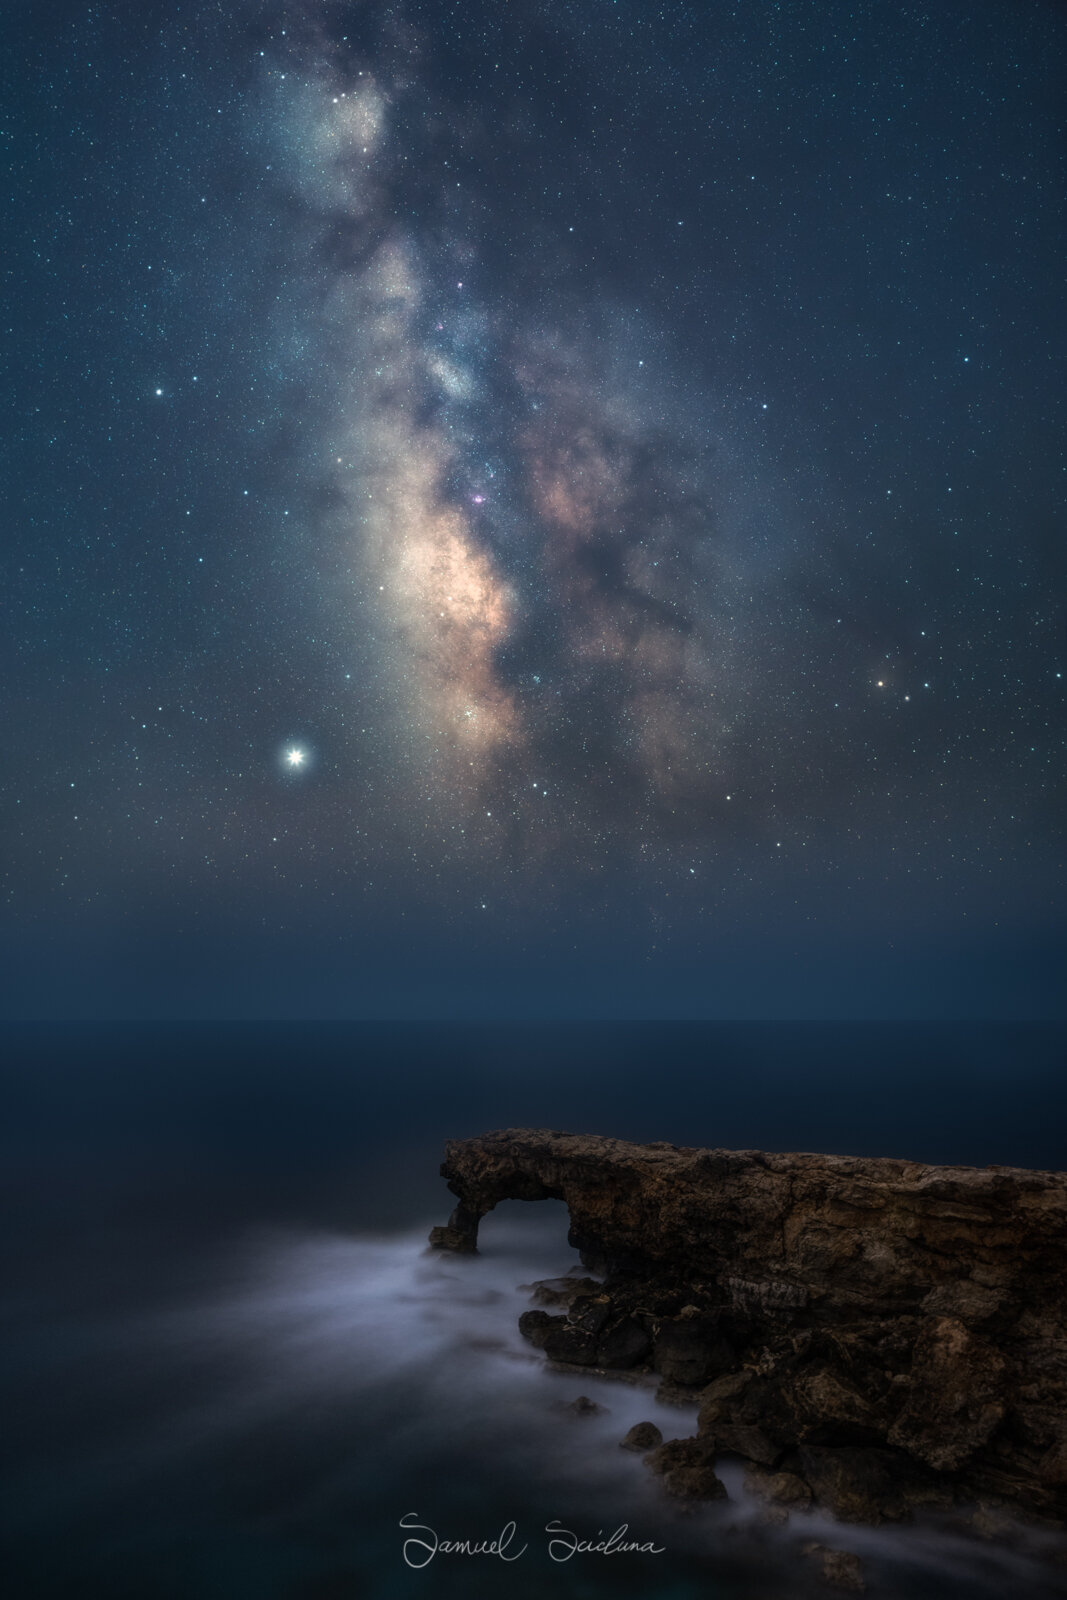
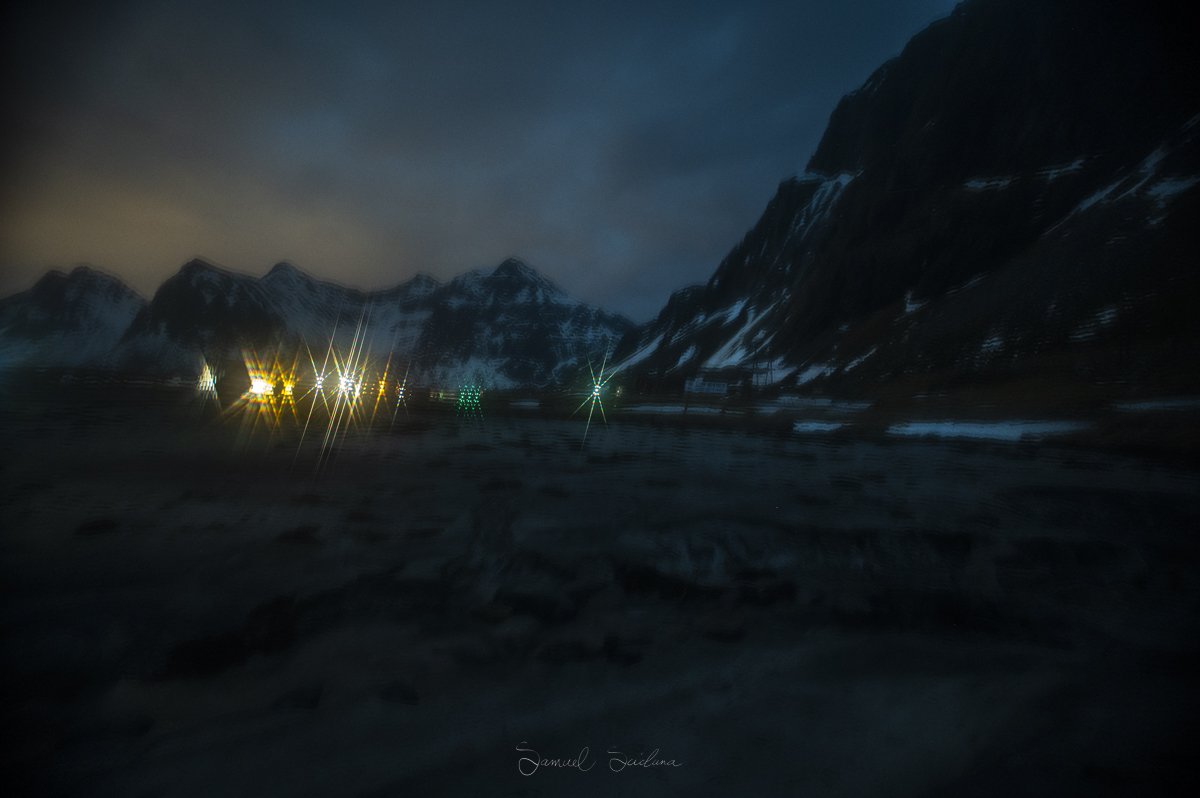
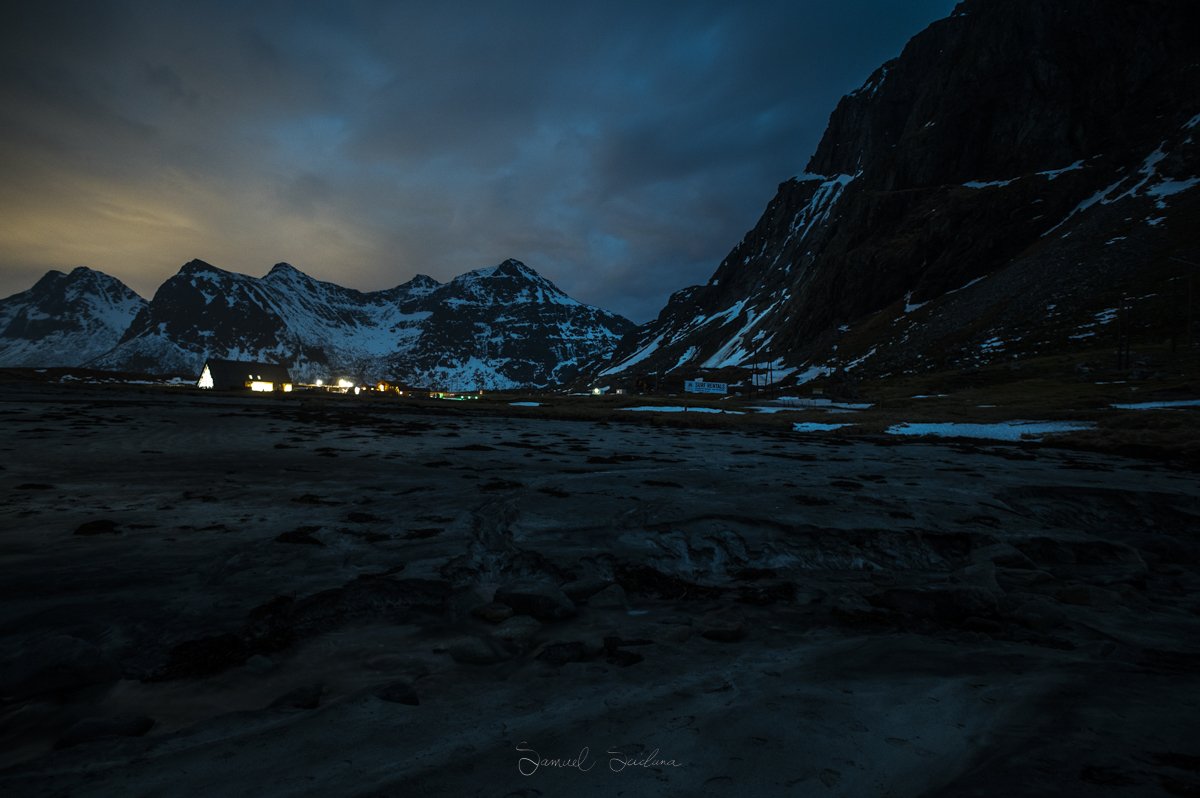
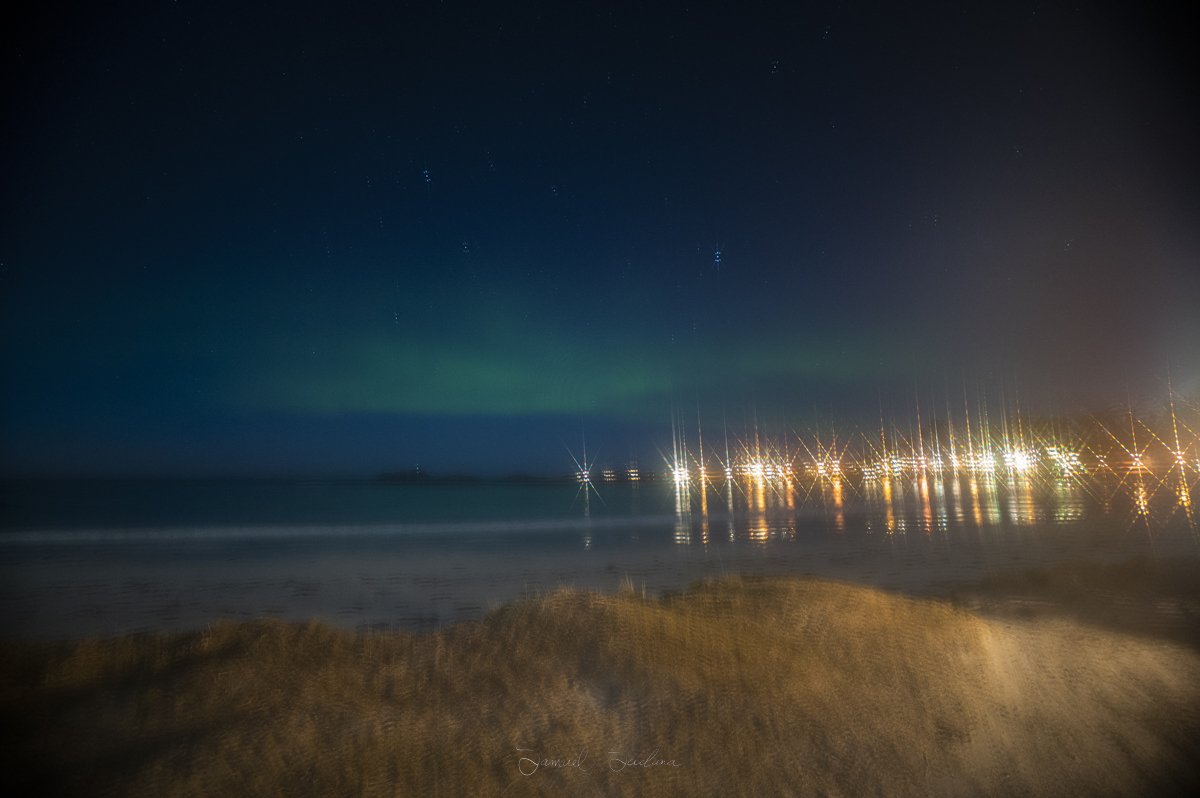
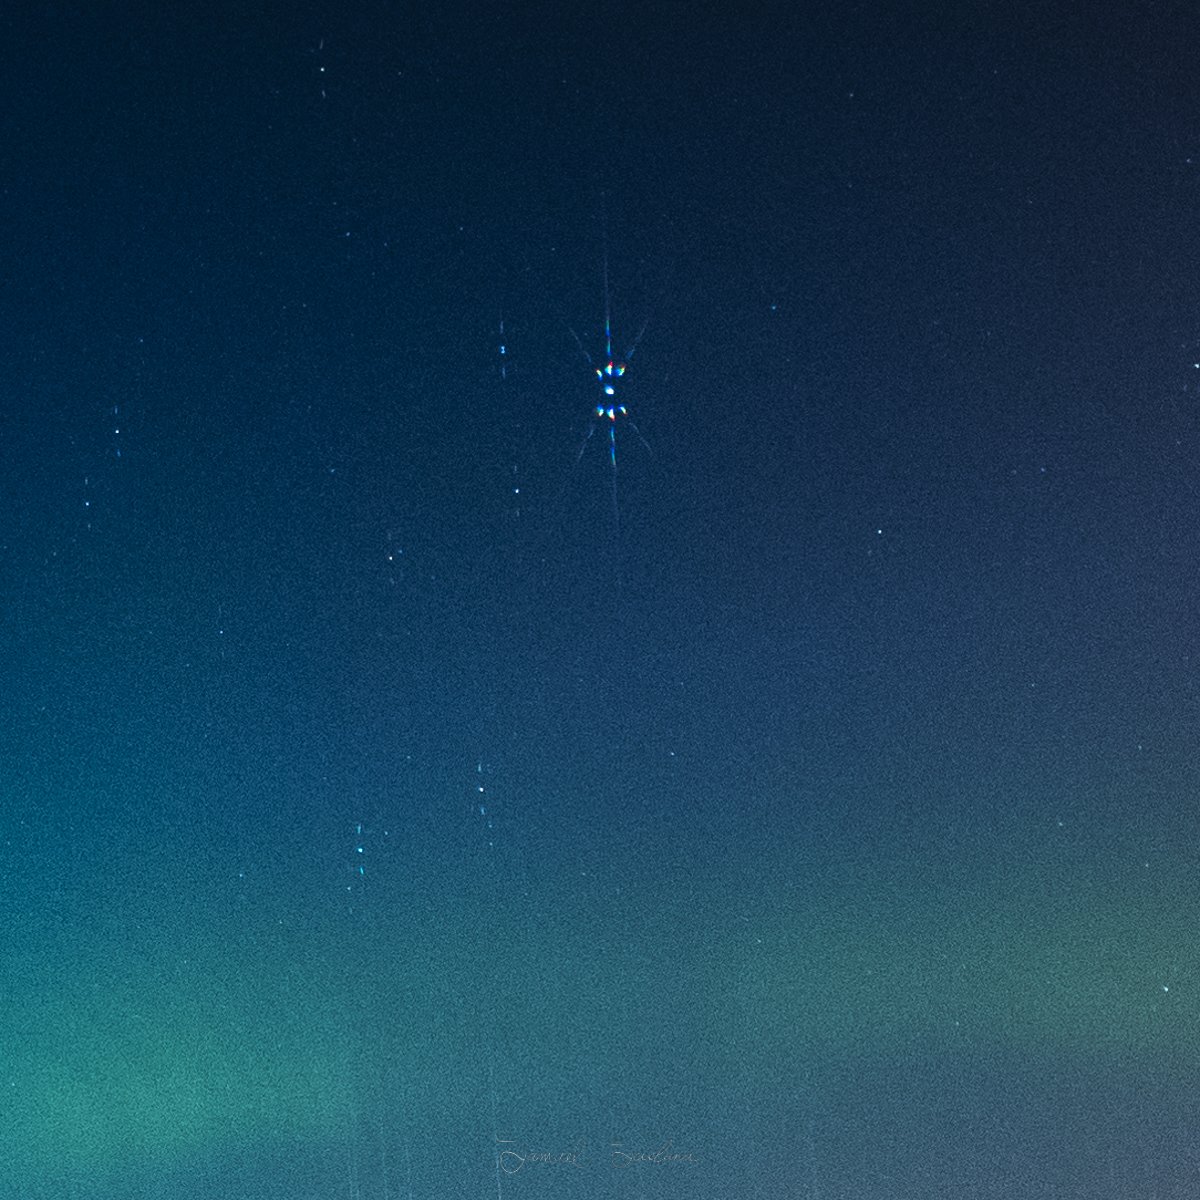
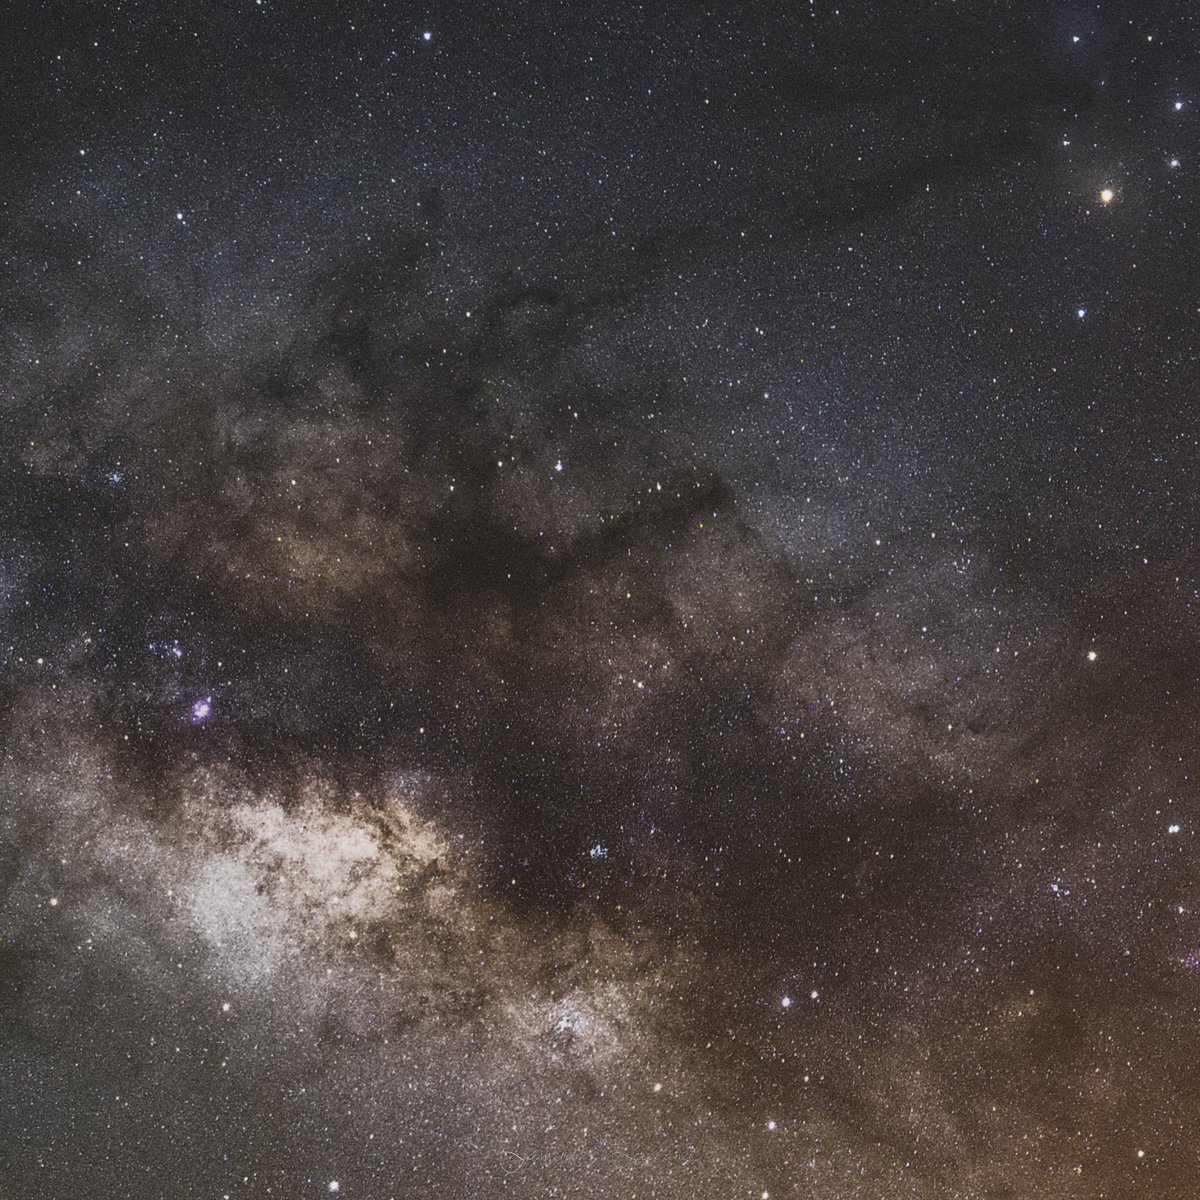
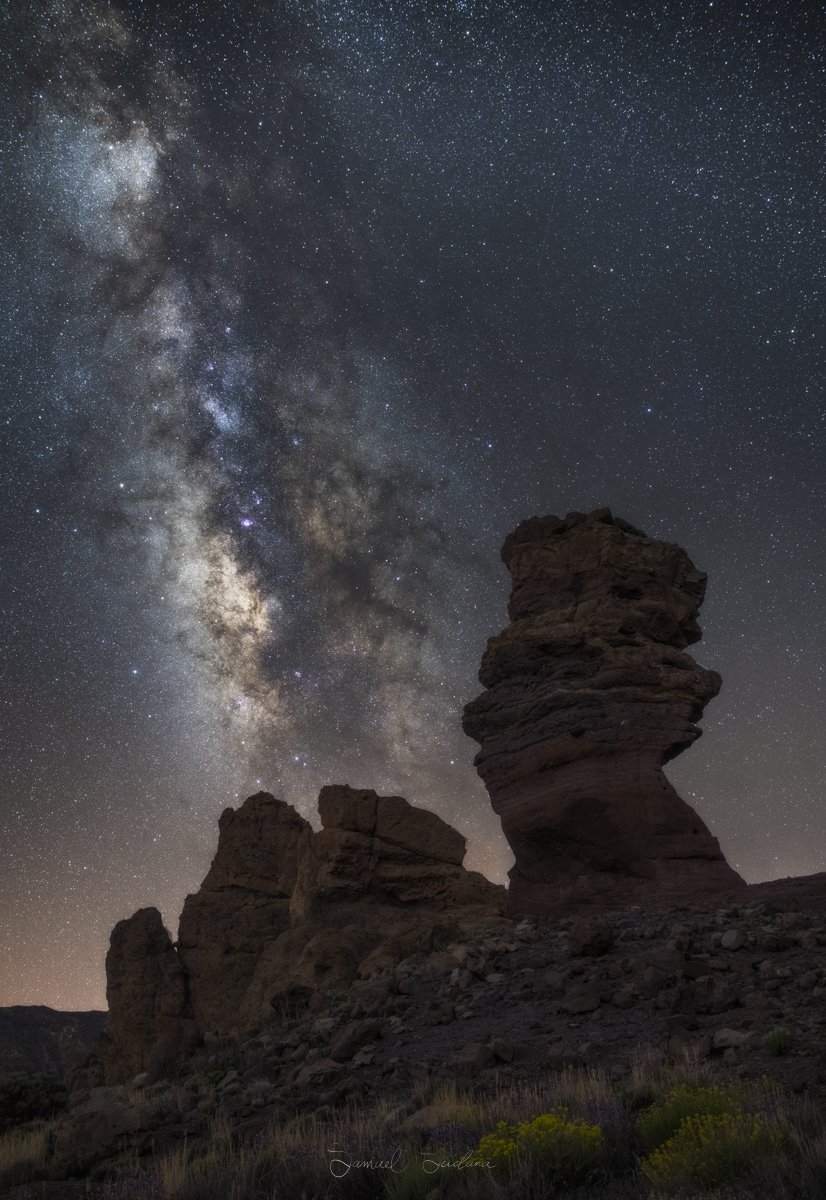
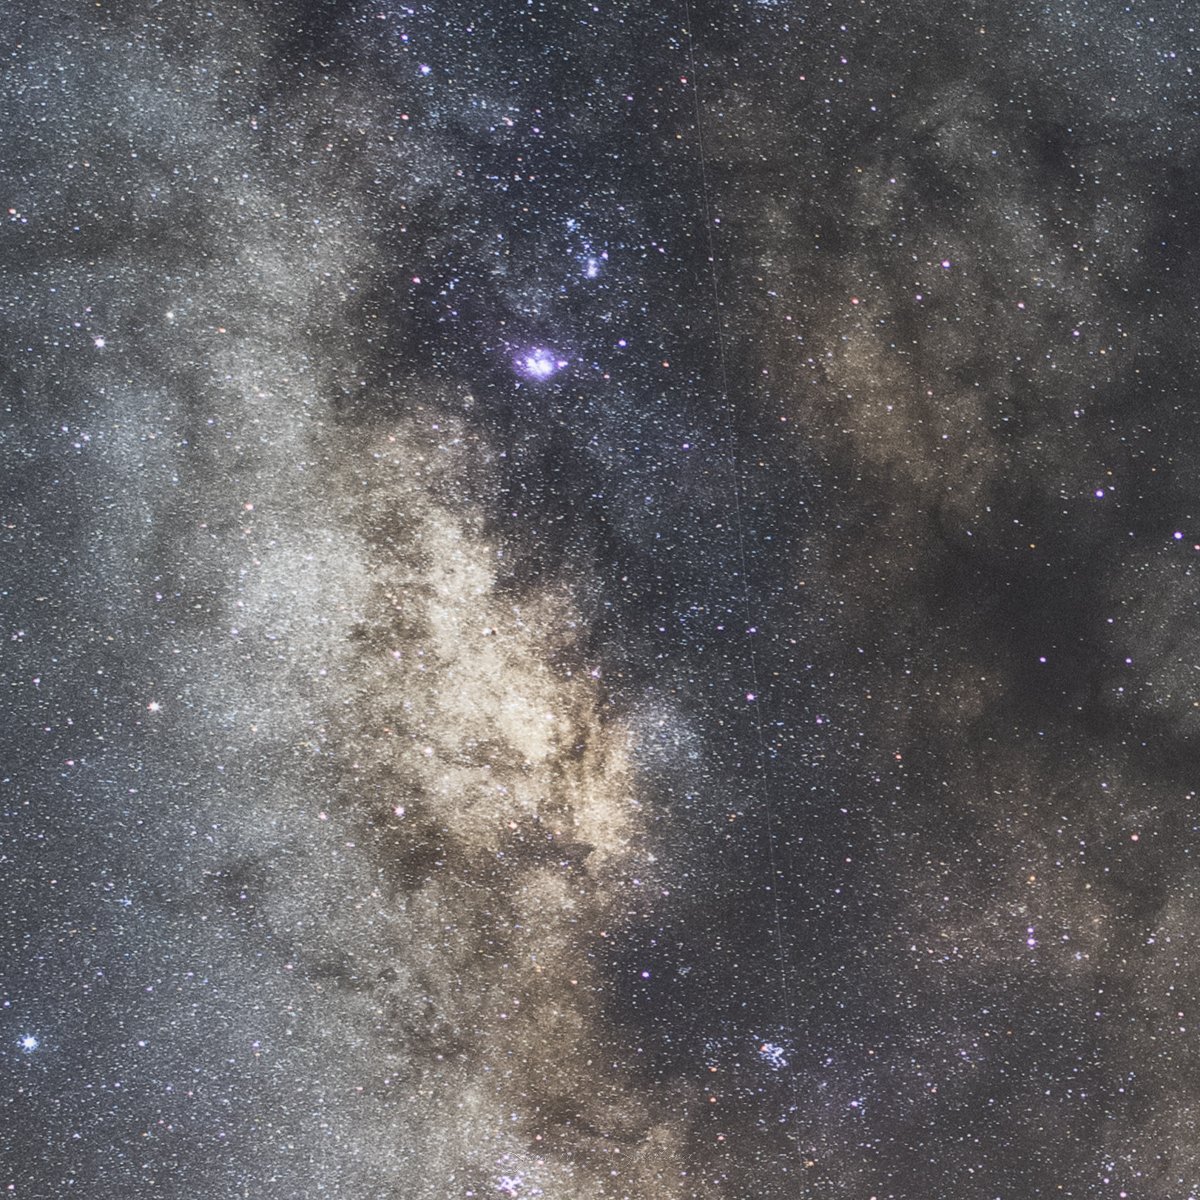
Below are some images which were taken with the Focus on Stars filter. The first in place during the exposure to show what it looks like in live view. The first one is the exposure with the filter in place, the second is the exposure after using the filter to focus. The diffraction spikes shown in the 3rd photo show whether or not the stars are in focus. Without this filter, perfect focus is much more of a hit and miss affair, the focus might be close to being perfect, but thats just not good enough!

Final Thoughts
When it comes to wide-angle Milky Way photography, although I would get perfect focus most of the time previously, I now prefer to carry the Focus on Stars filter with me and use it to rest assured my focus is 100% spot on.
I run photography workshops and nailing focus is the single most common problem that participants have on my workshop. In most cases, this is because they don’t know what perfect focus looks like, coma and aberrations can sometimes make it challenging to be sure the stars are perfectly sharp. Sometimes, participants might think that the stars are sharp, but they often don't spend the time to zoom in to 100% in playback and check that the stars are 100% in focus. Or, they start with their lens at 24mm and get everything focused. At that point they take a test photo and realize they are zoomed in to 24mm, and not at 14mm like they want to be. So they zoom out to 14mm and forget to refocus the lens!
Even with a good Live View display, they won't be able to tell when the stars are perfectly sharp or not. Therefore, the student would be greatly helped with this filter! The unique diffraction spike will clearly show whether the lens is focused or not (Even if your eyesight isn’t great!). It will also force them to slow down, check, double-check, and triple-check that the diffraction spike is actually sharp.
The Focus On Stars filter works as advertised. You can see diffractions spikes all the way to 14mm! (Ultra Wide Angle) If you're tired of getting home and finding out that all of your photos are blurry, this might be a worthwhile investment. My only real problem with the filter is that it significantly darkens the Live View display, which may make focusing difficult for those with older DSLRs. Keep in mind that you will need a filter holder.
Click here for more information about the Focus on Stars filters. All participants of my workshops are entitled to a 10% discount and will be sent a coupon code after booking.
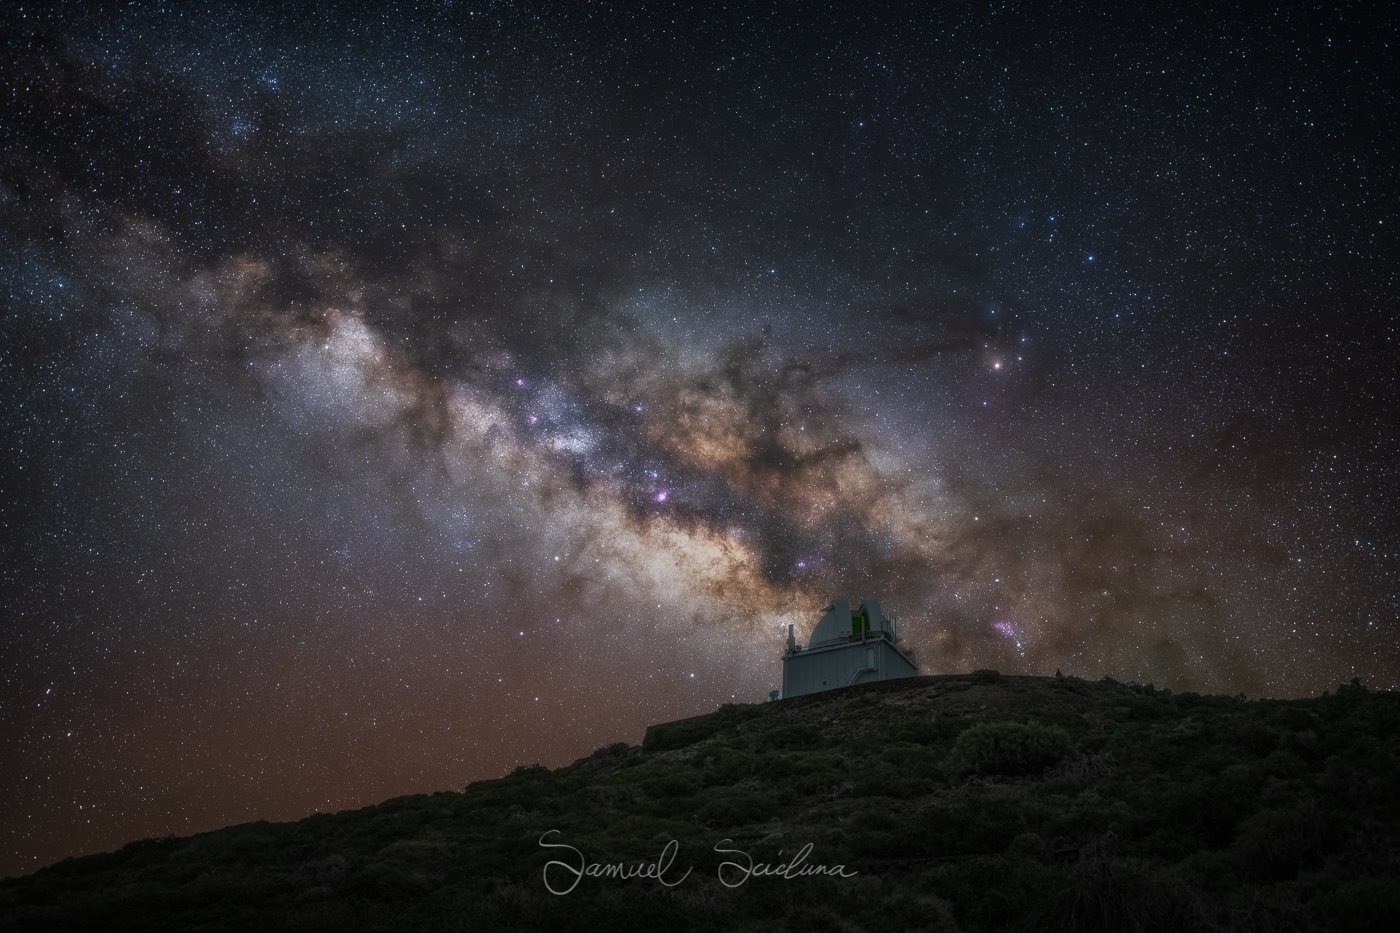
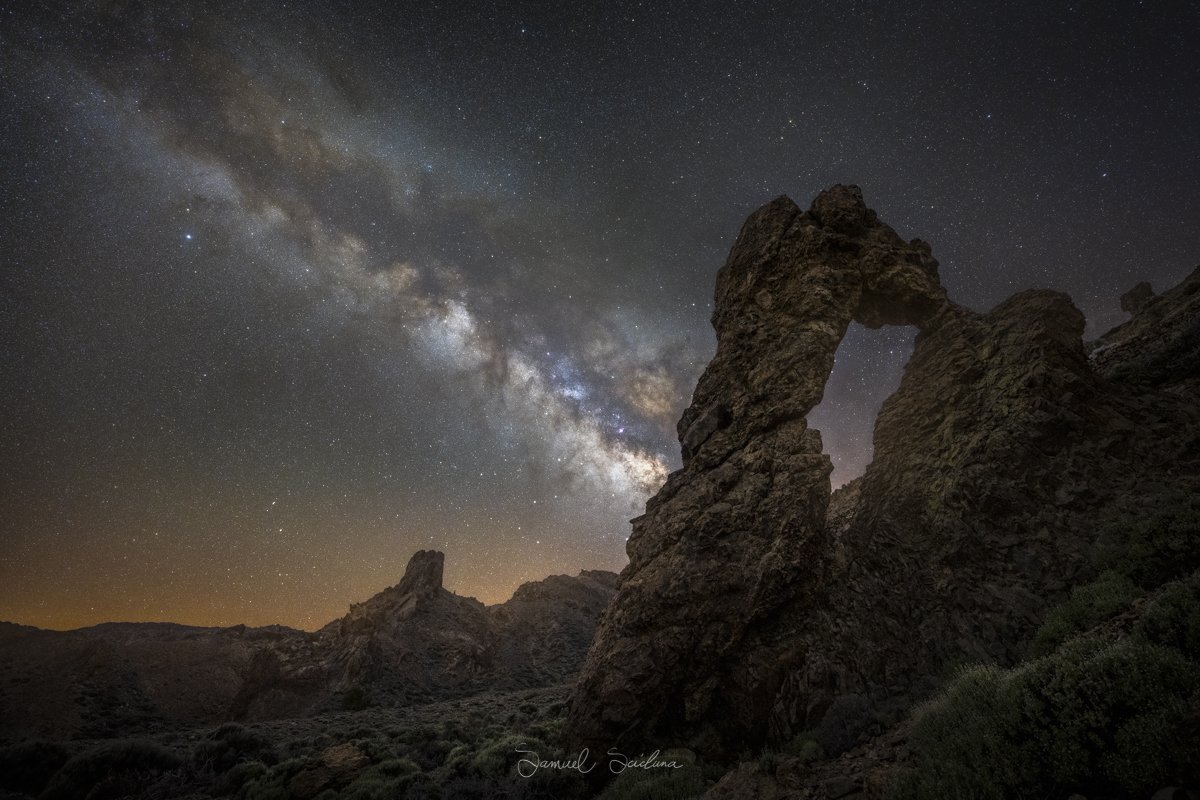
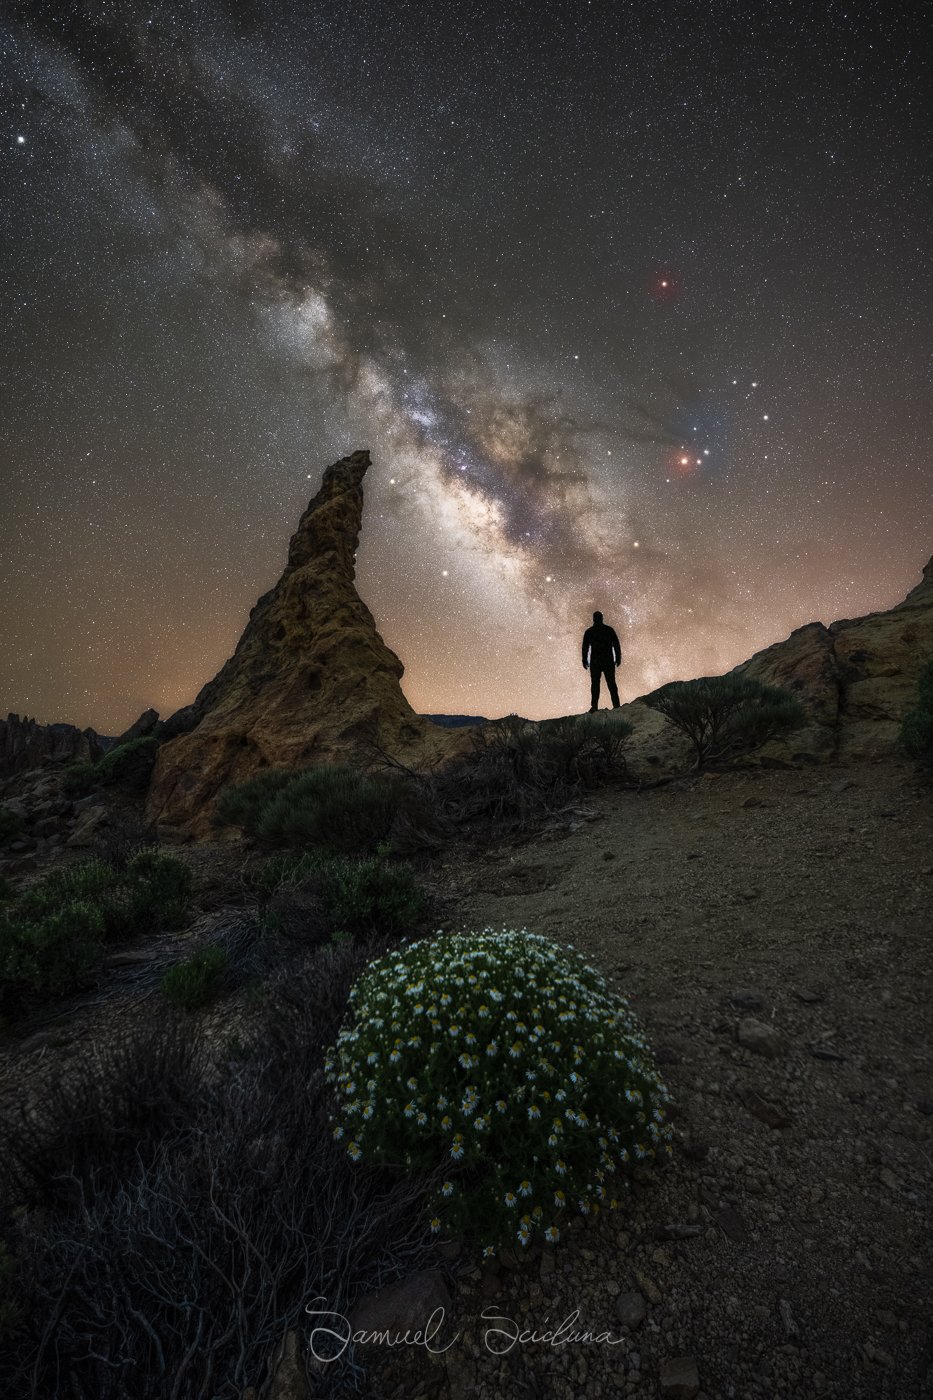
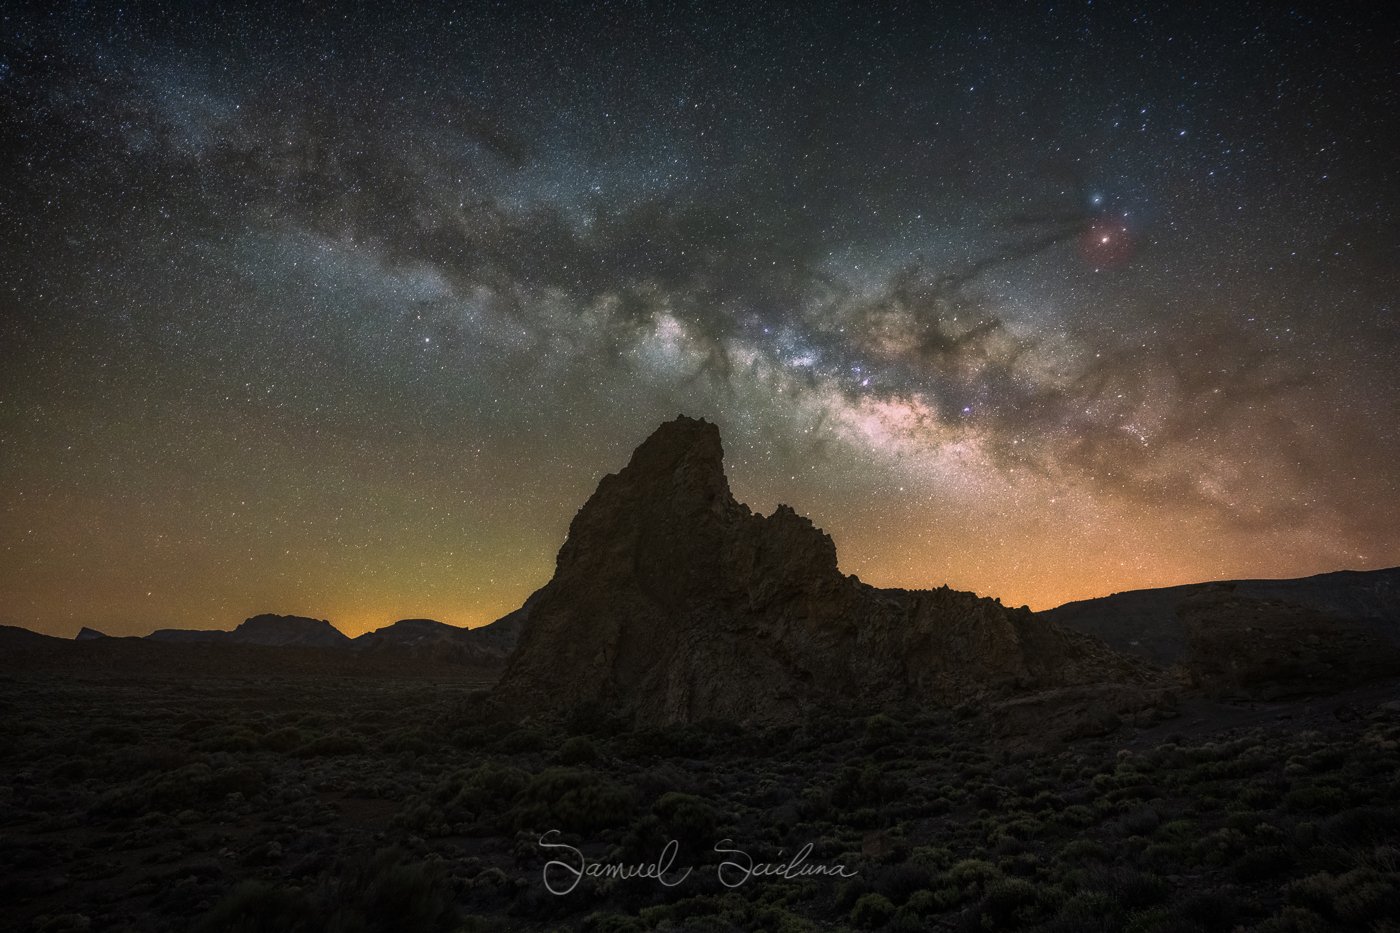
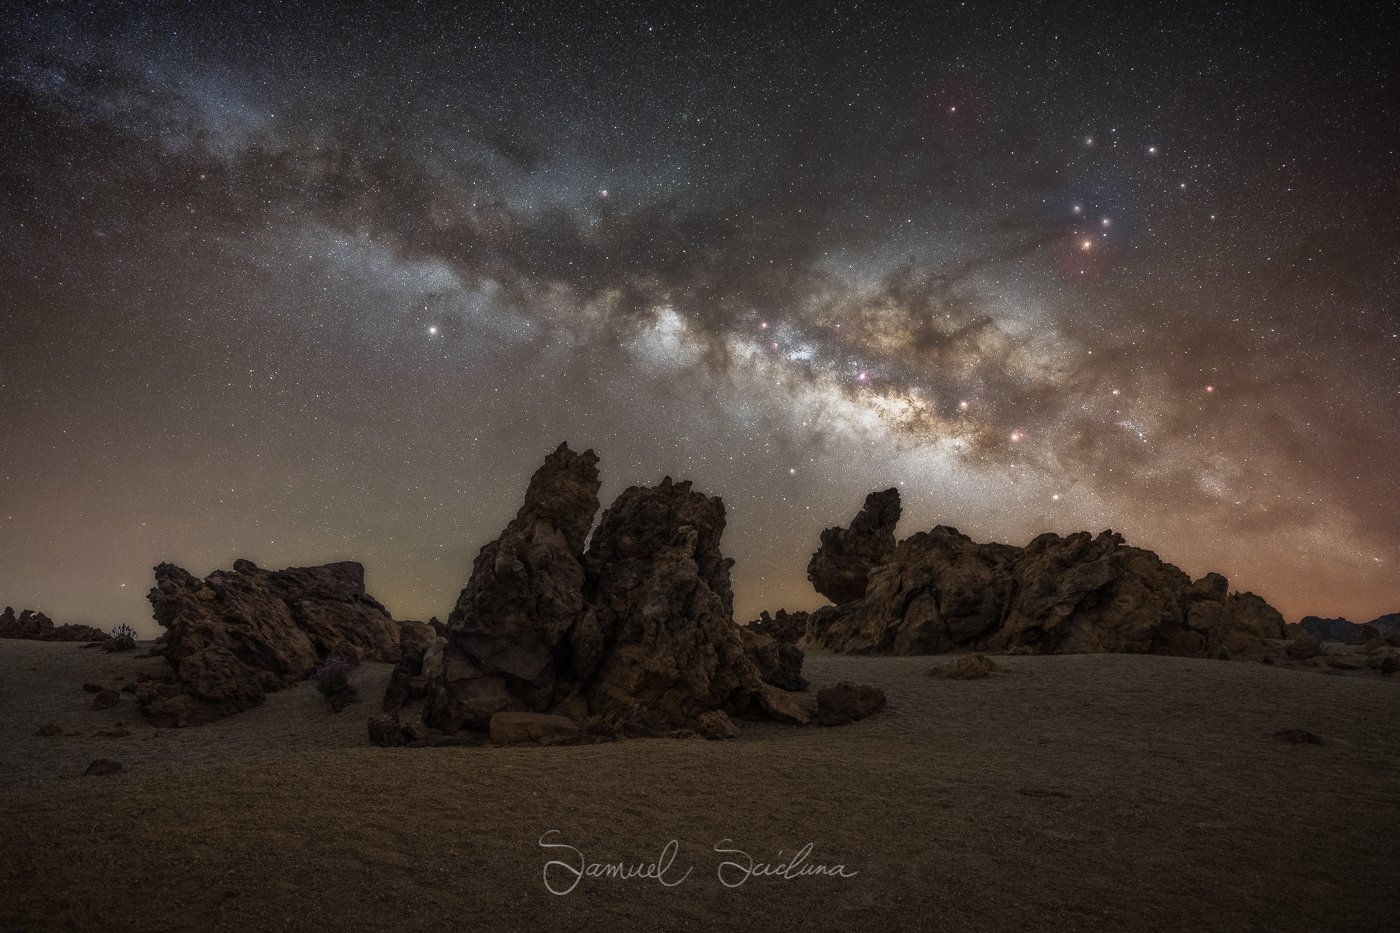
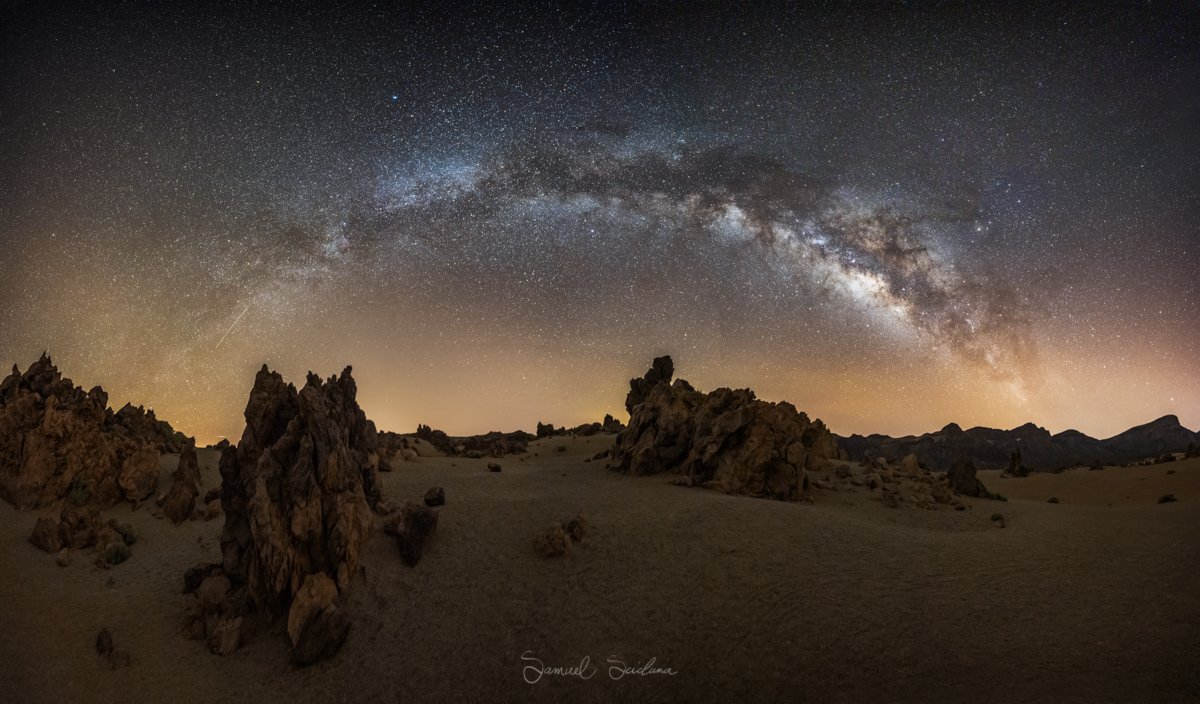
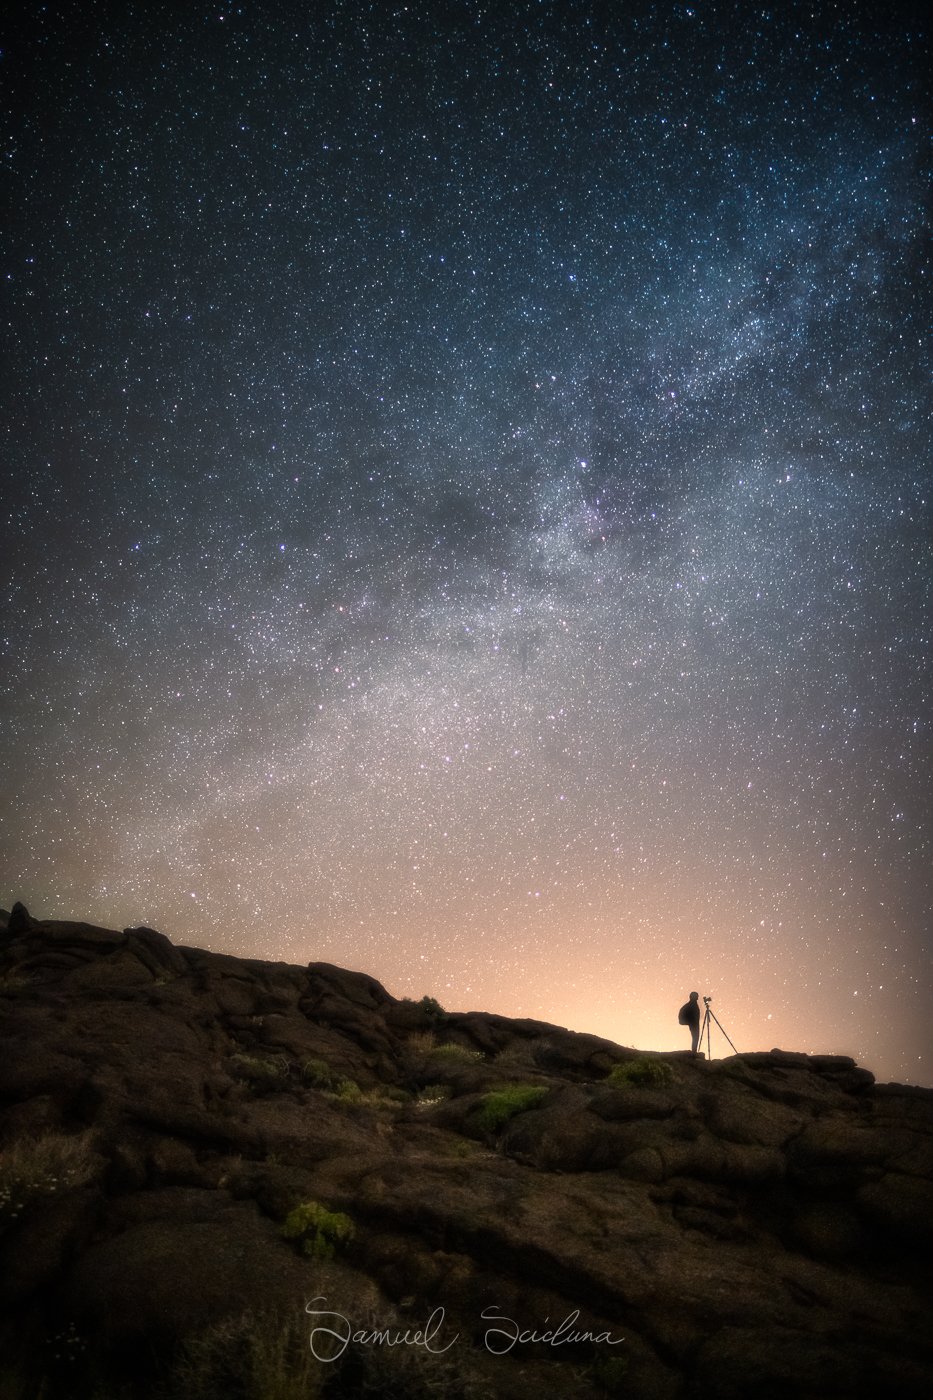
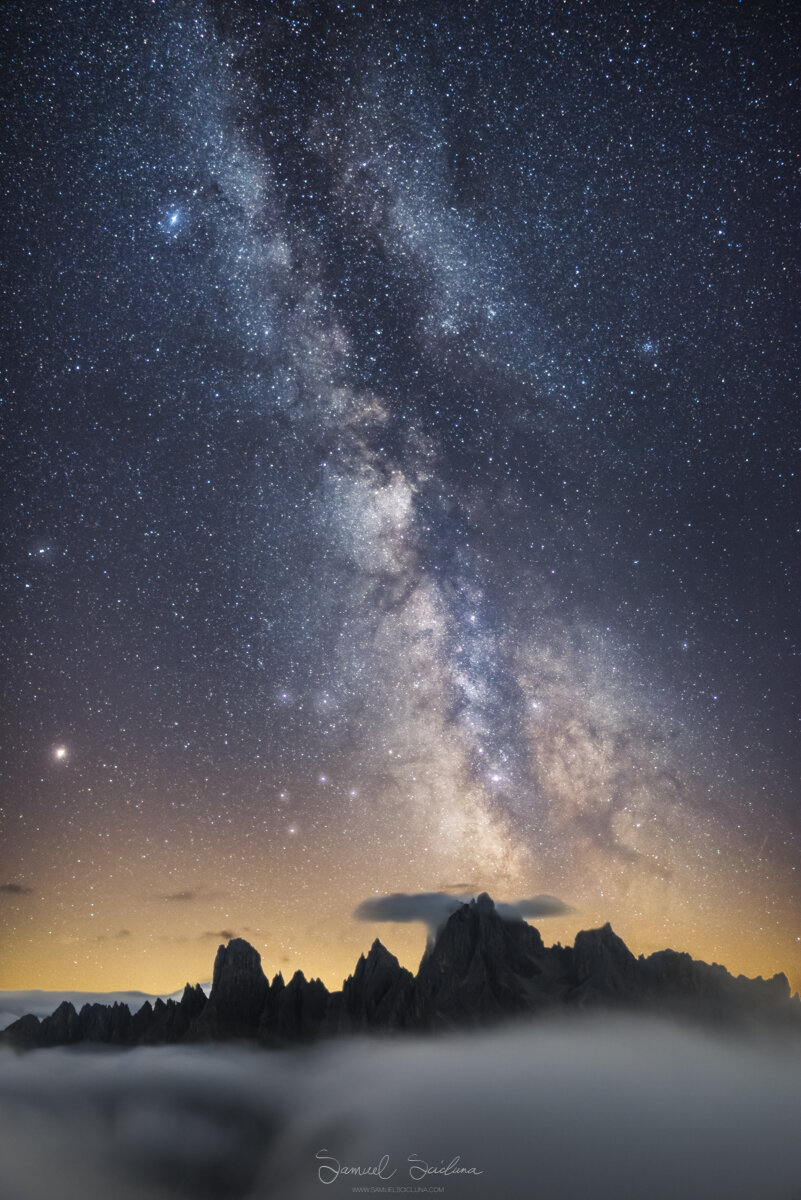
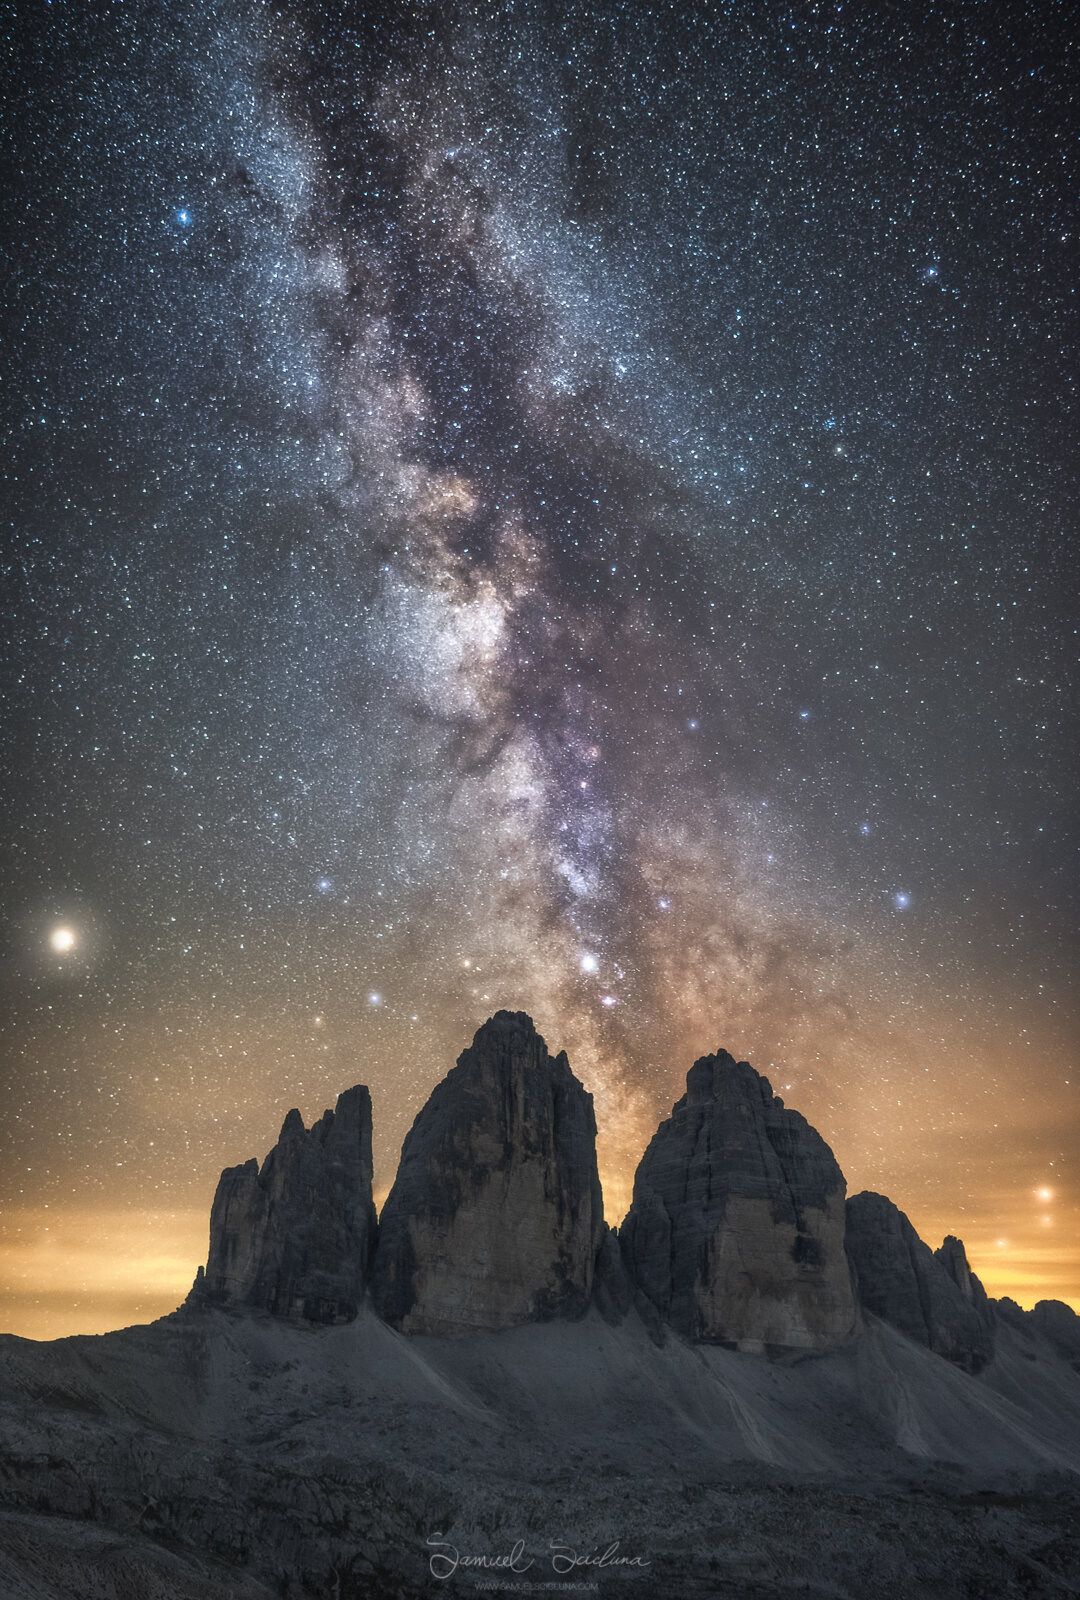
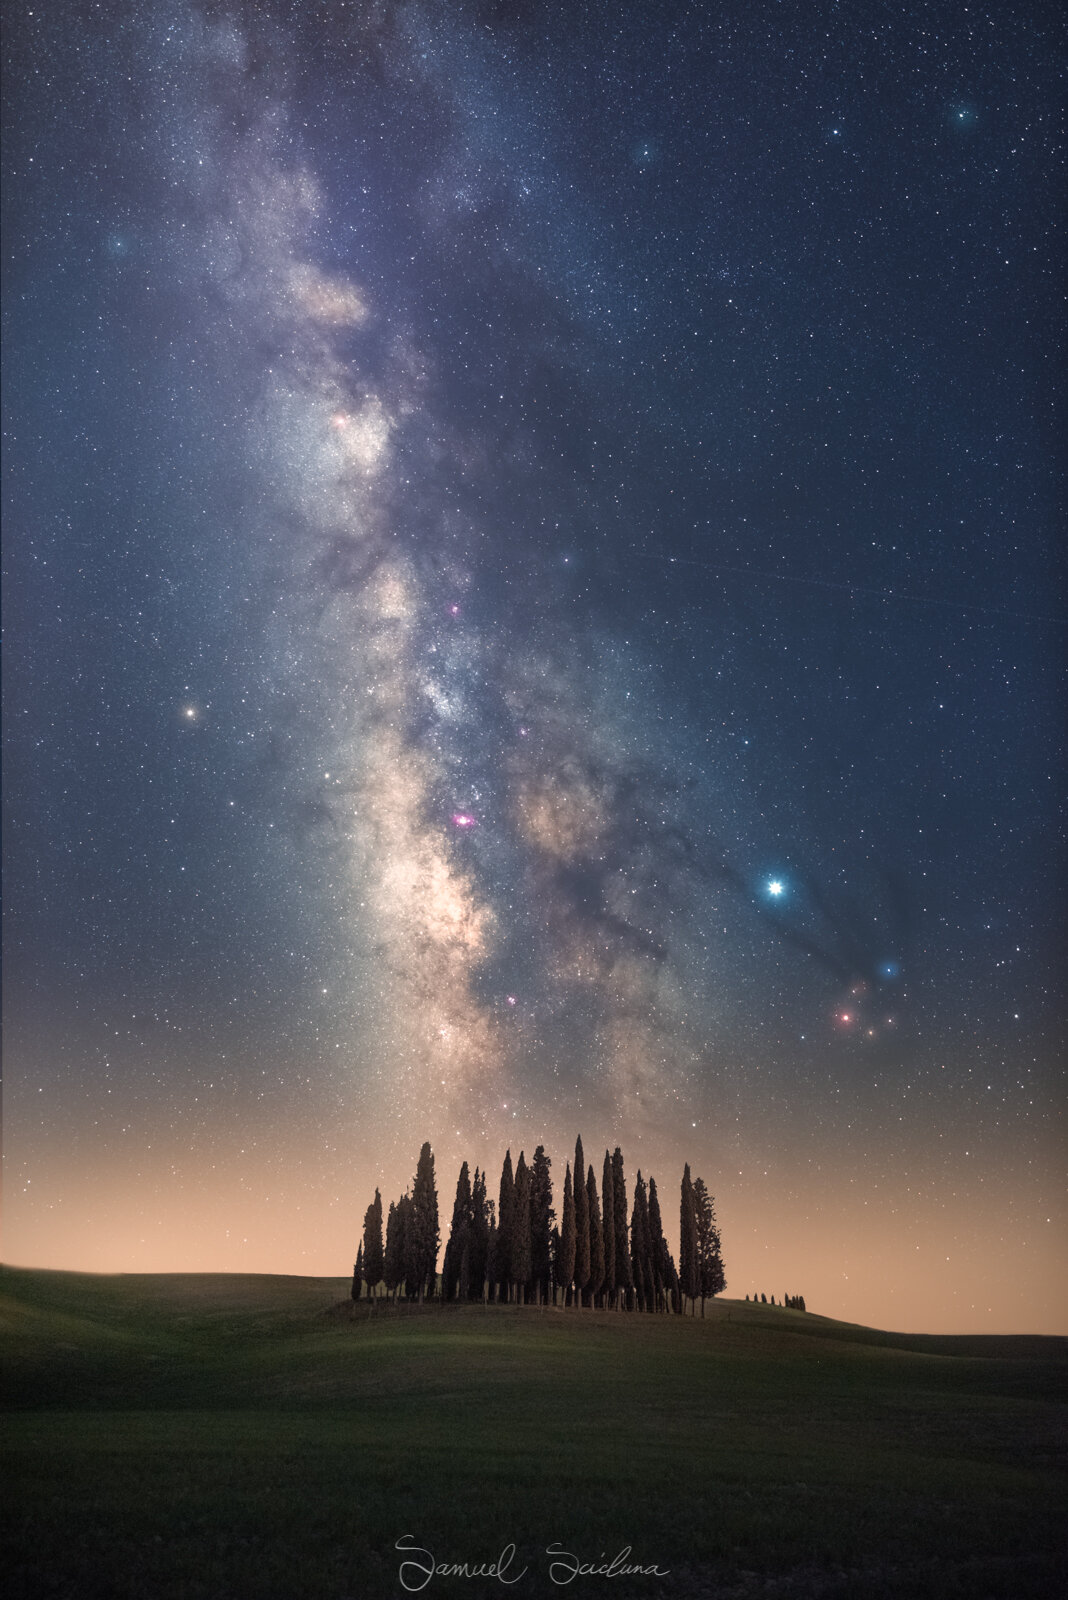
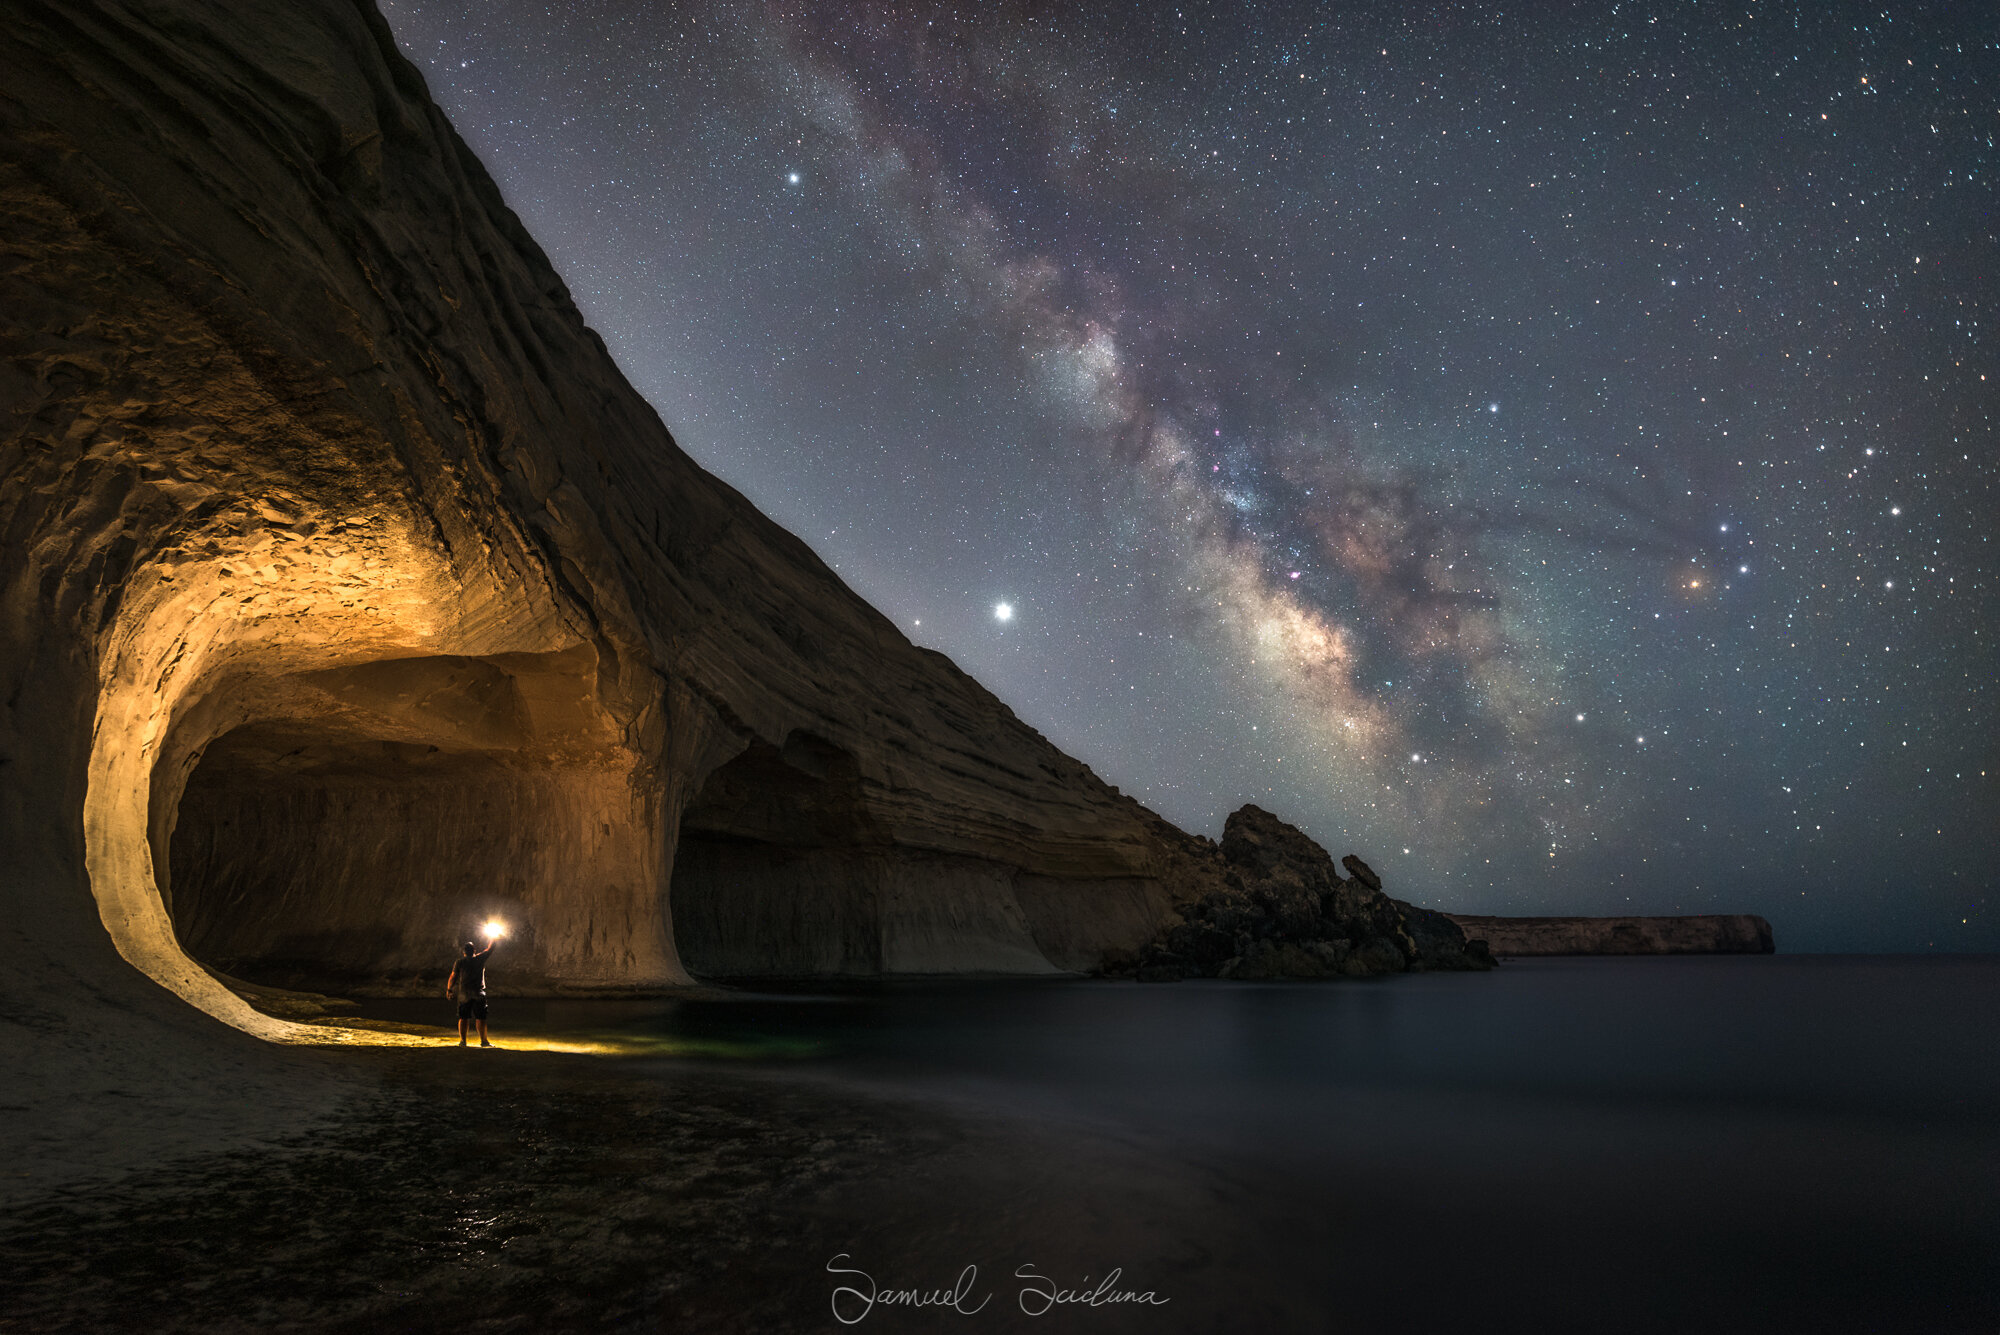
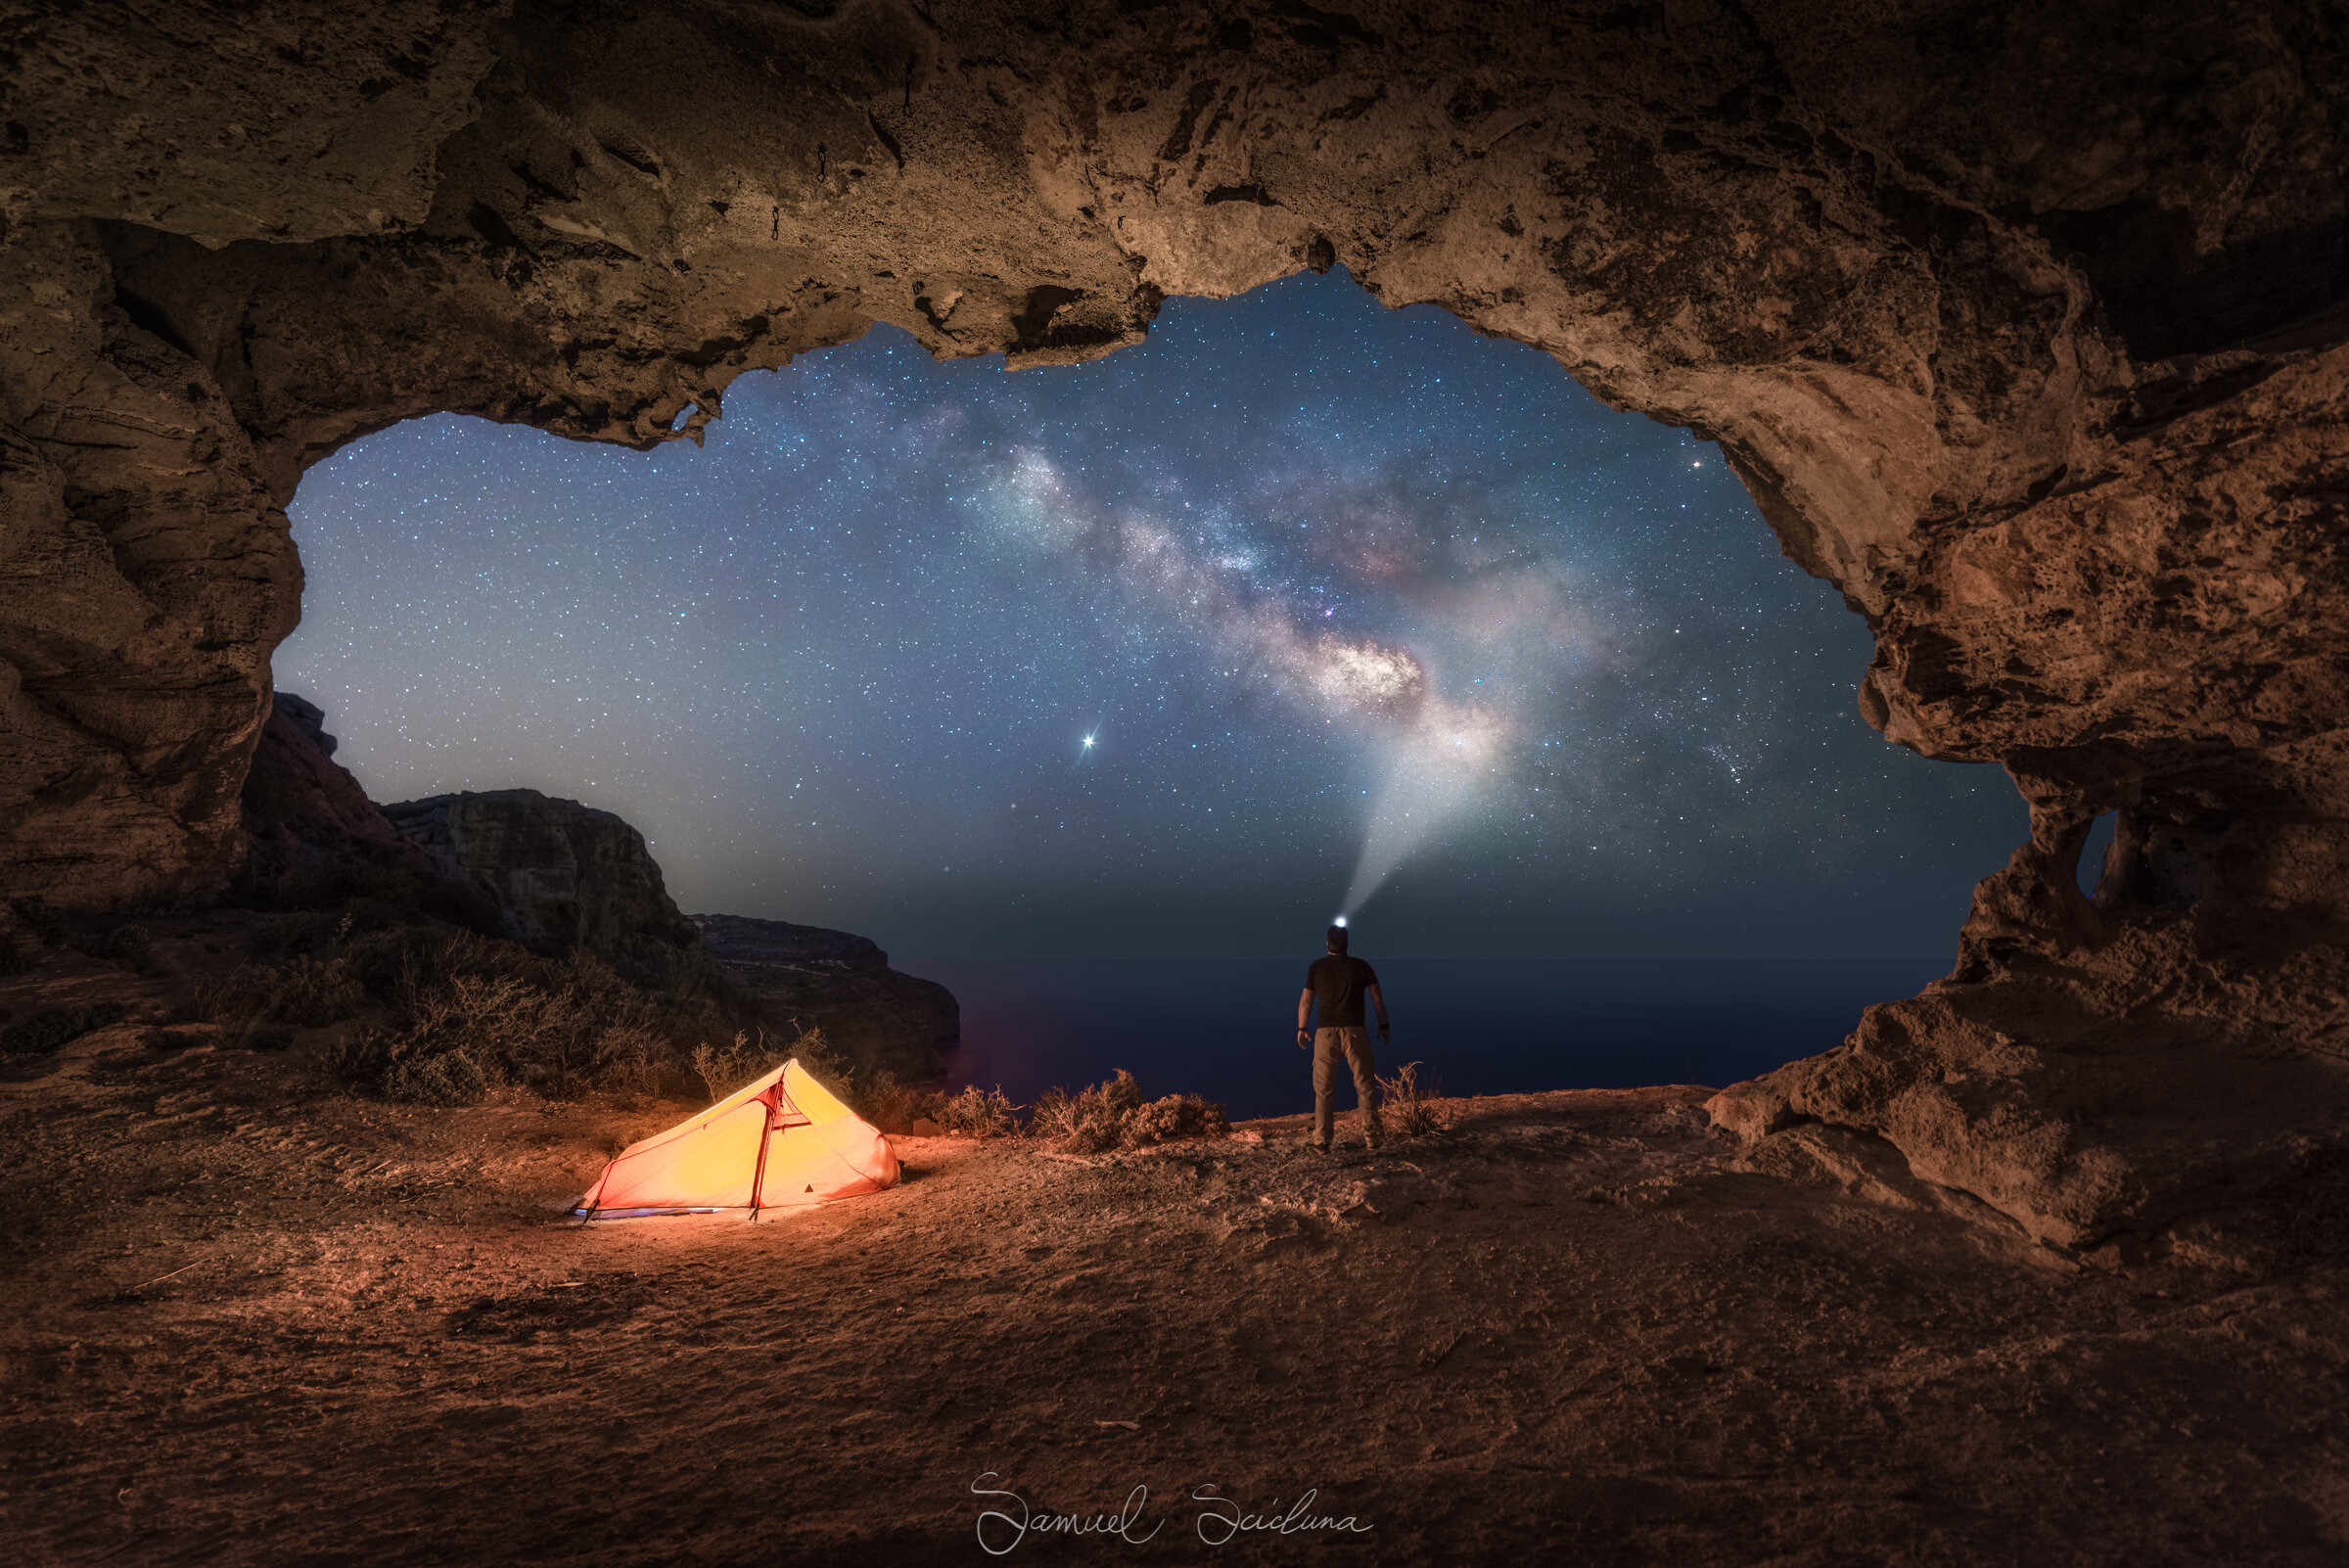
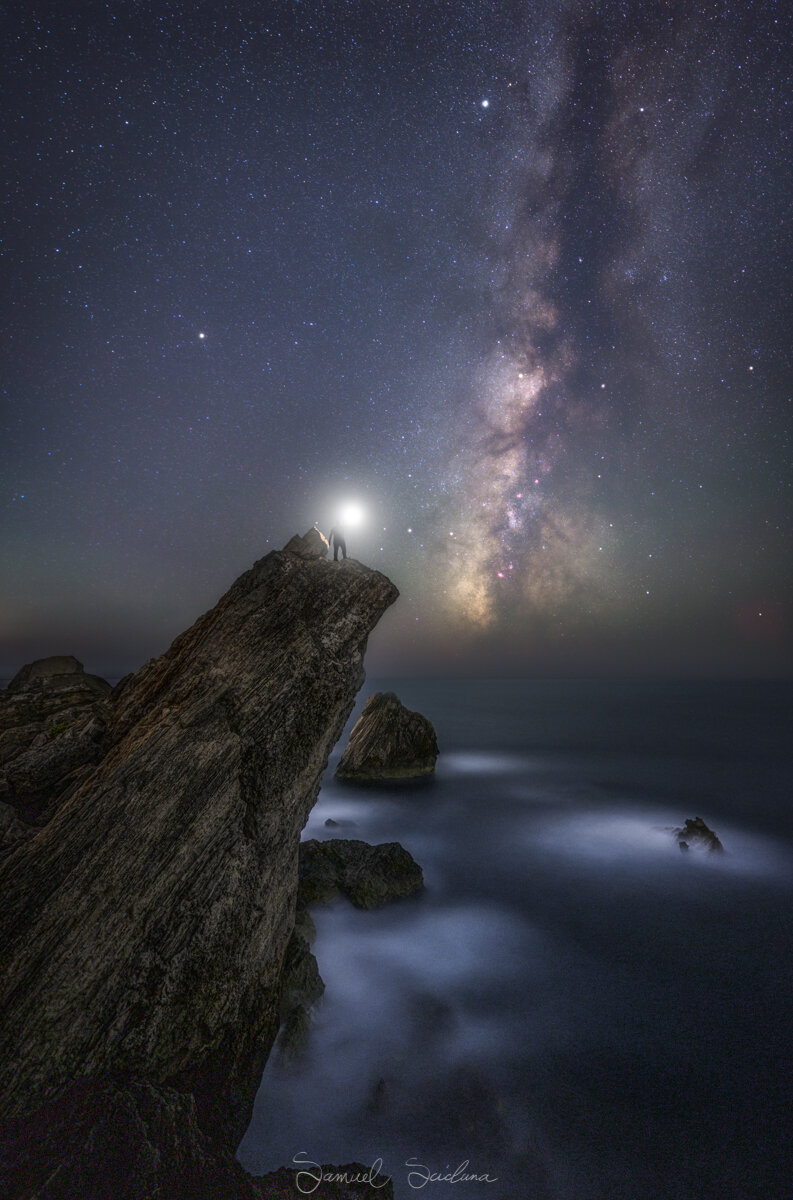
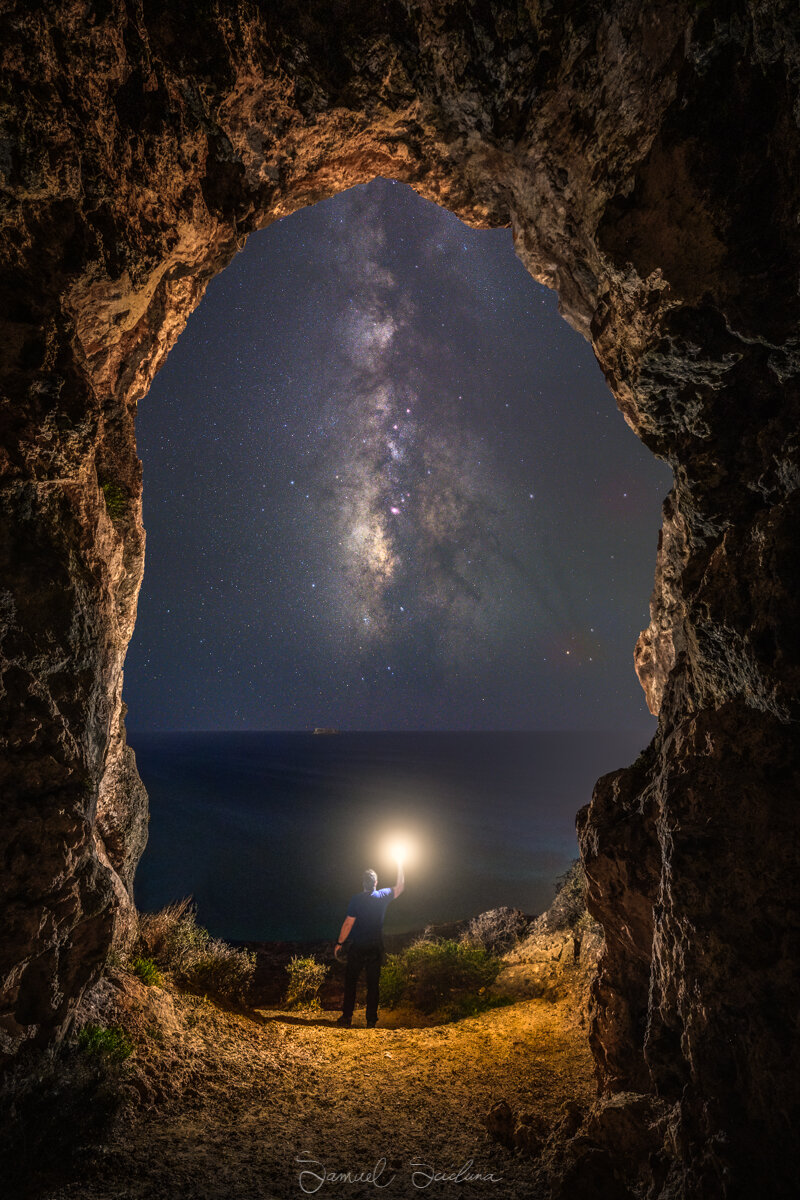
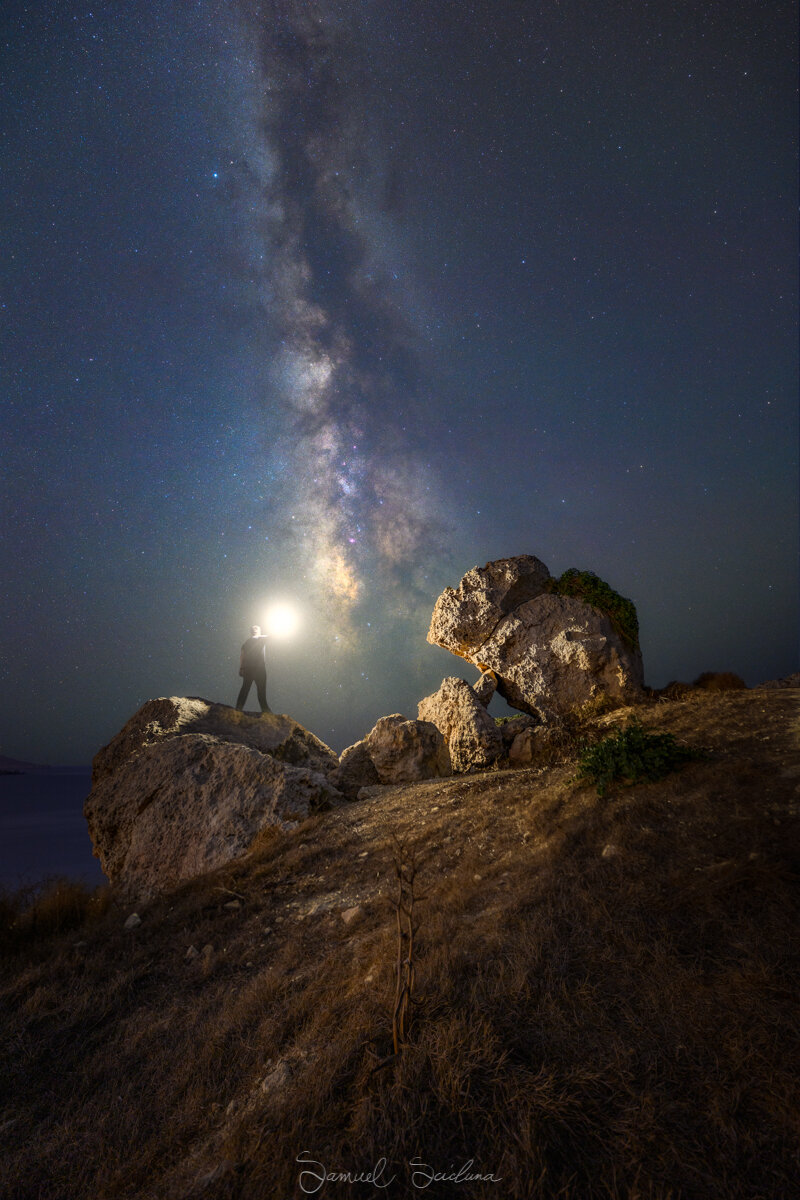
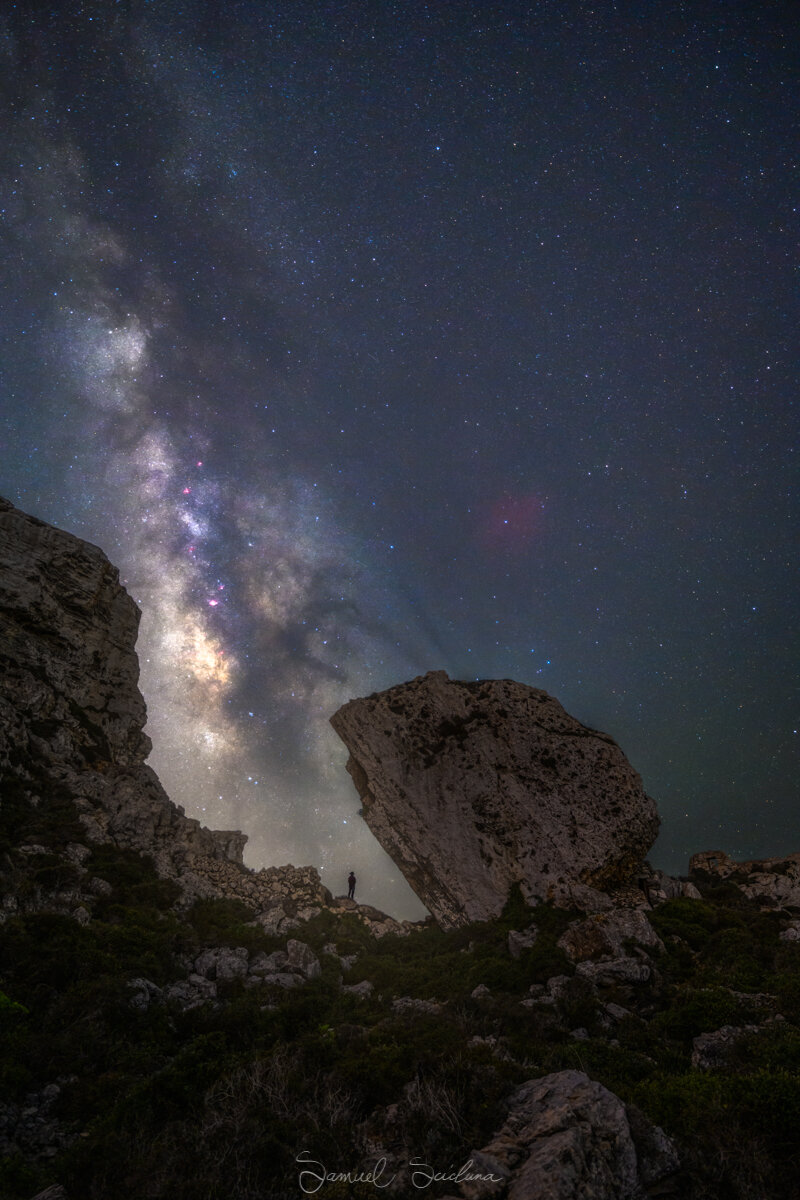
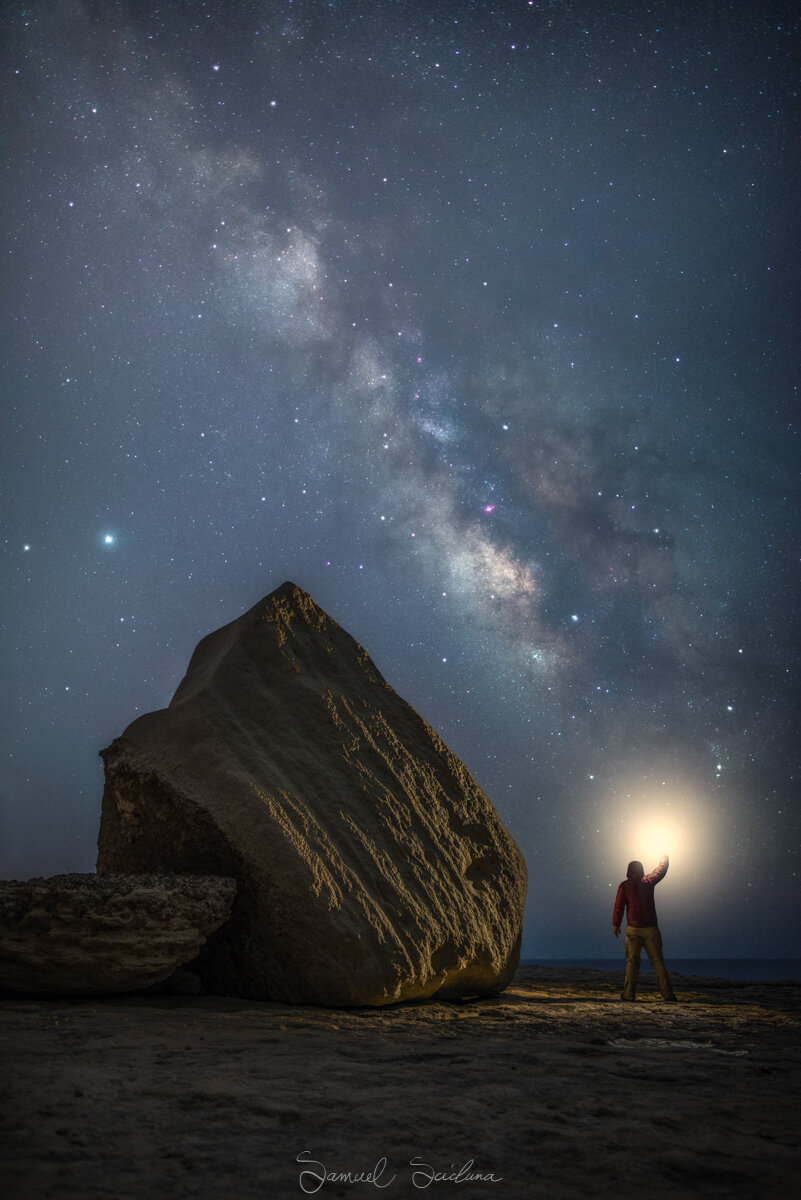
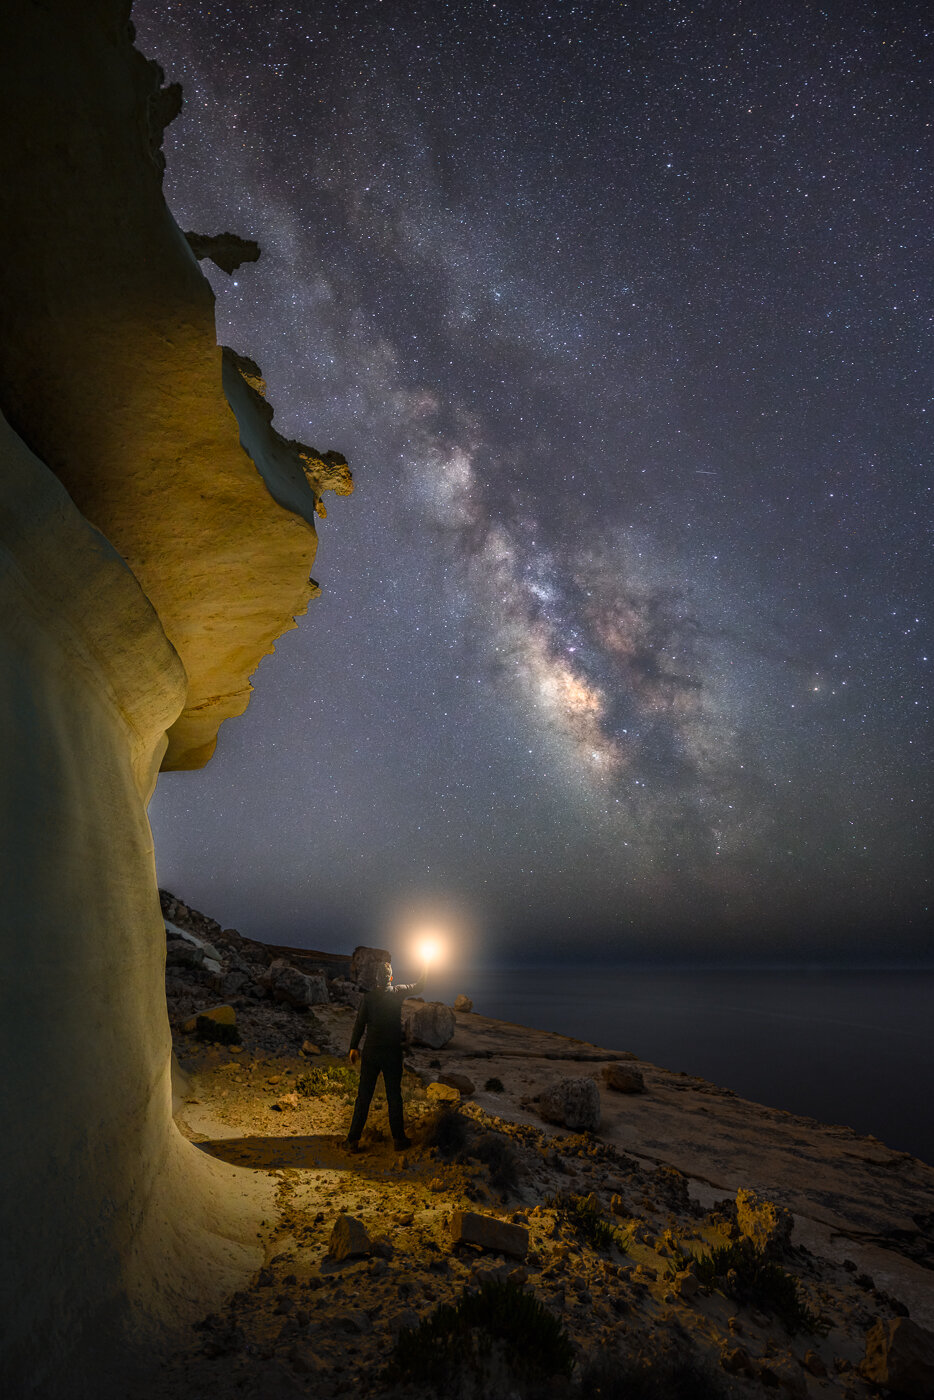
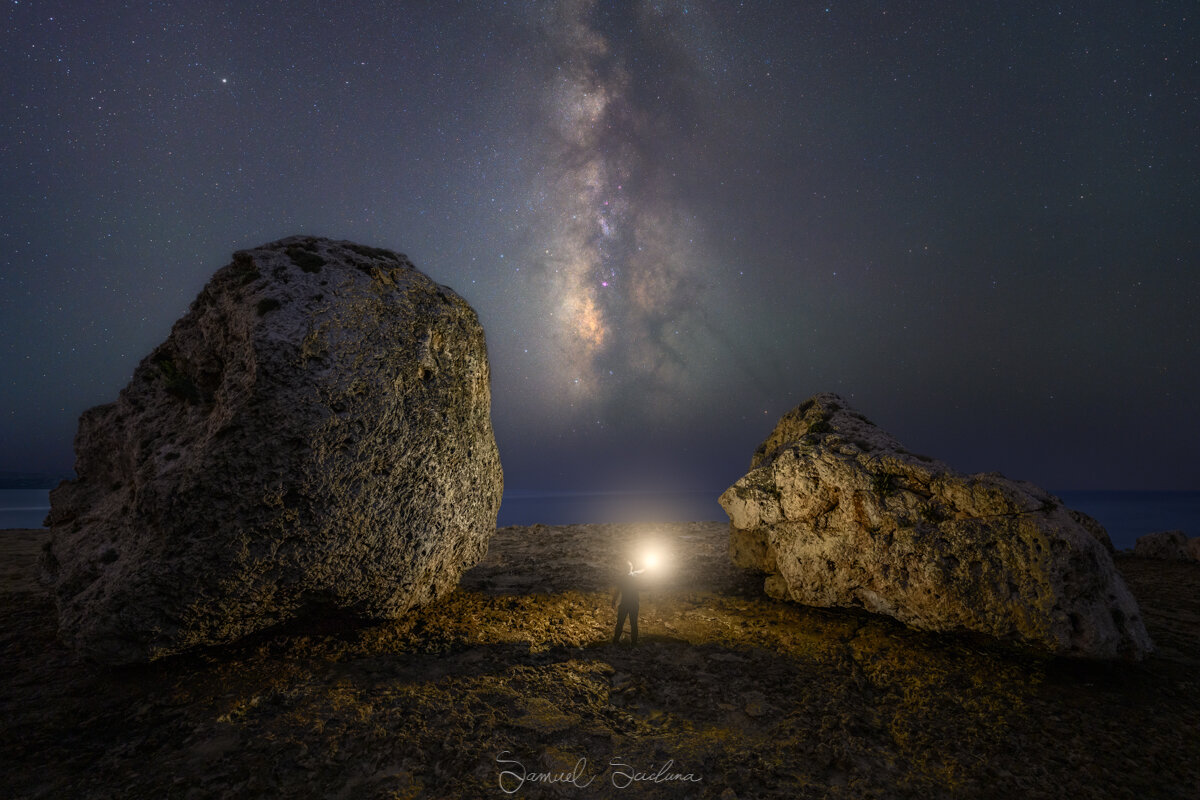
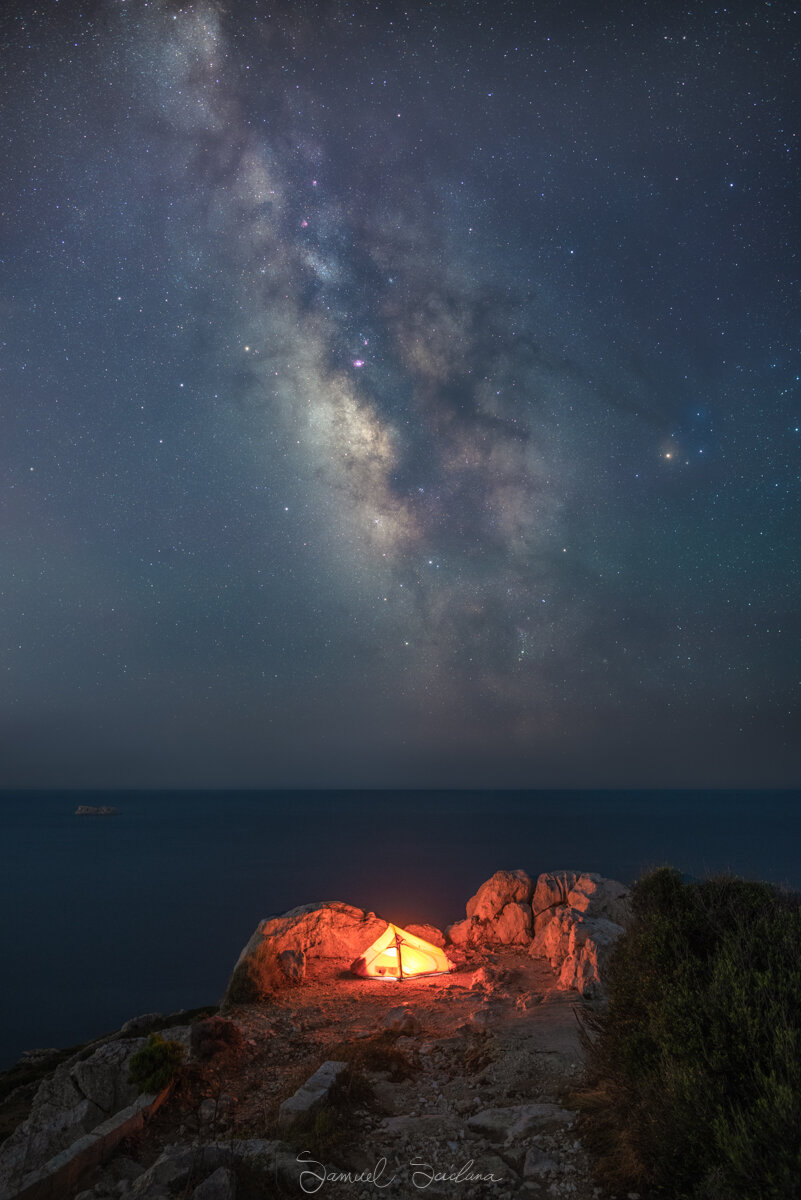
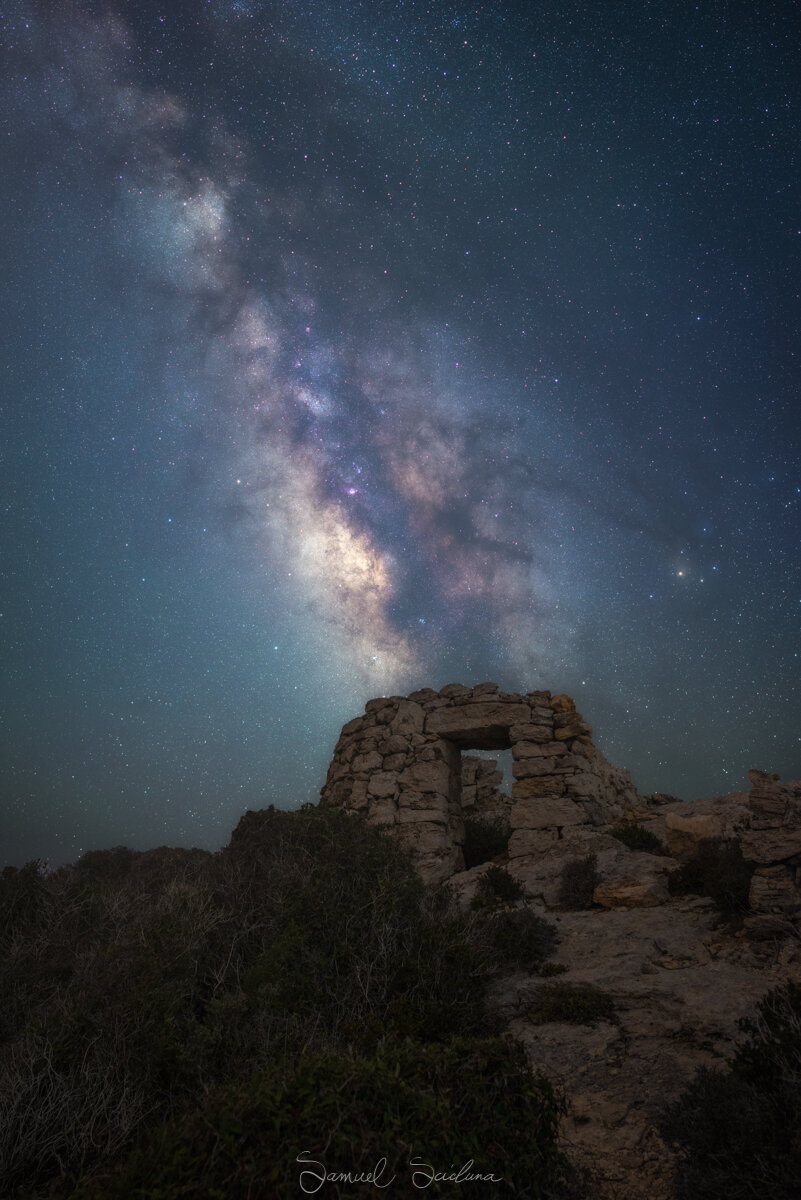
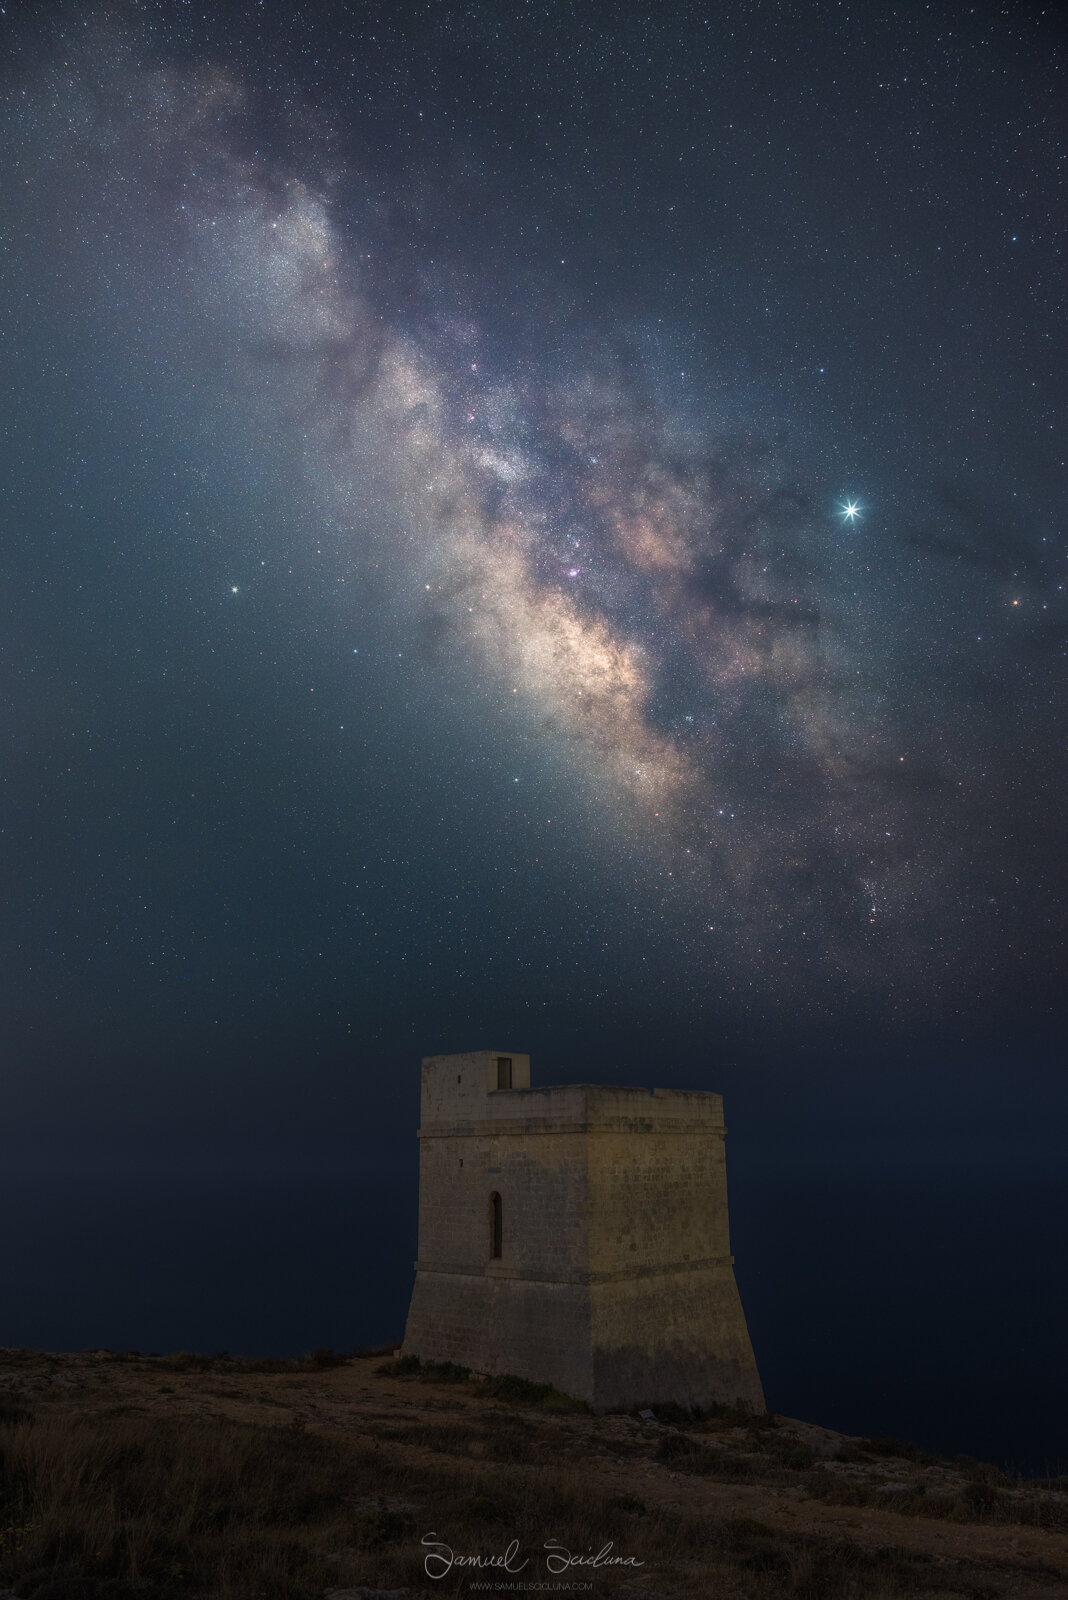
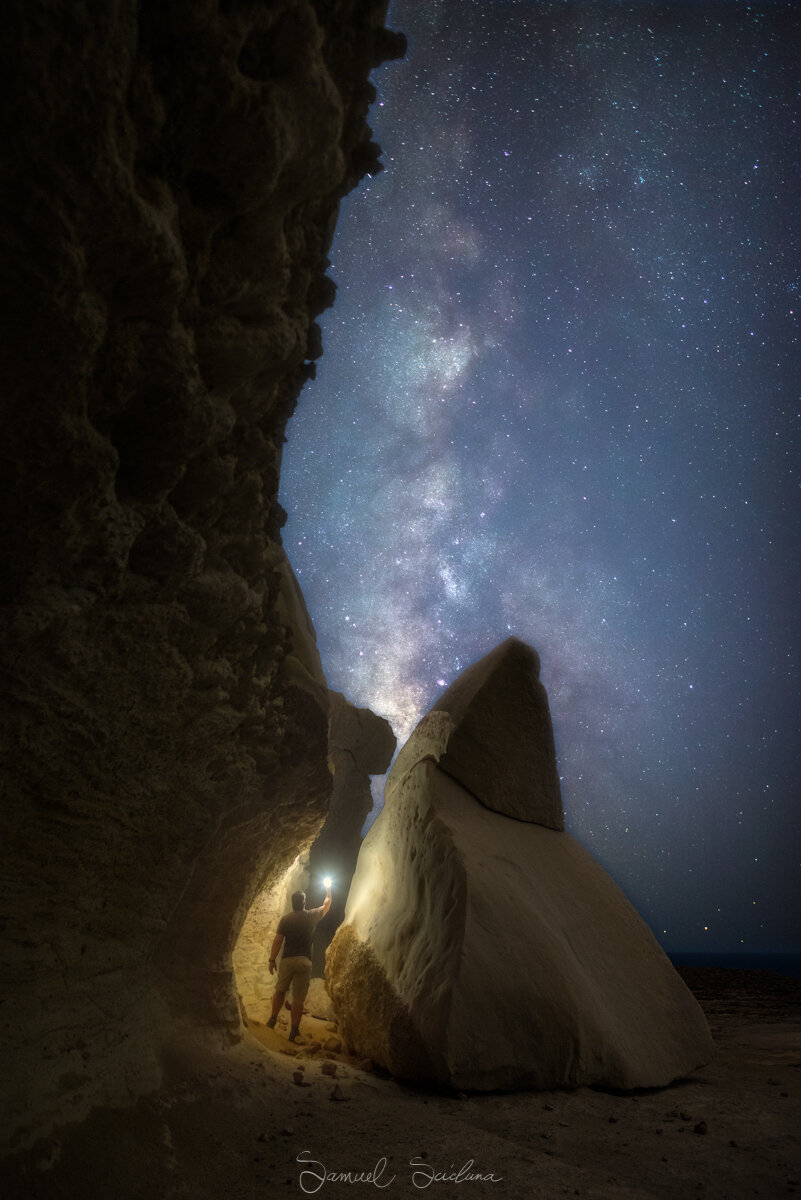
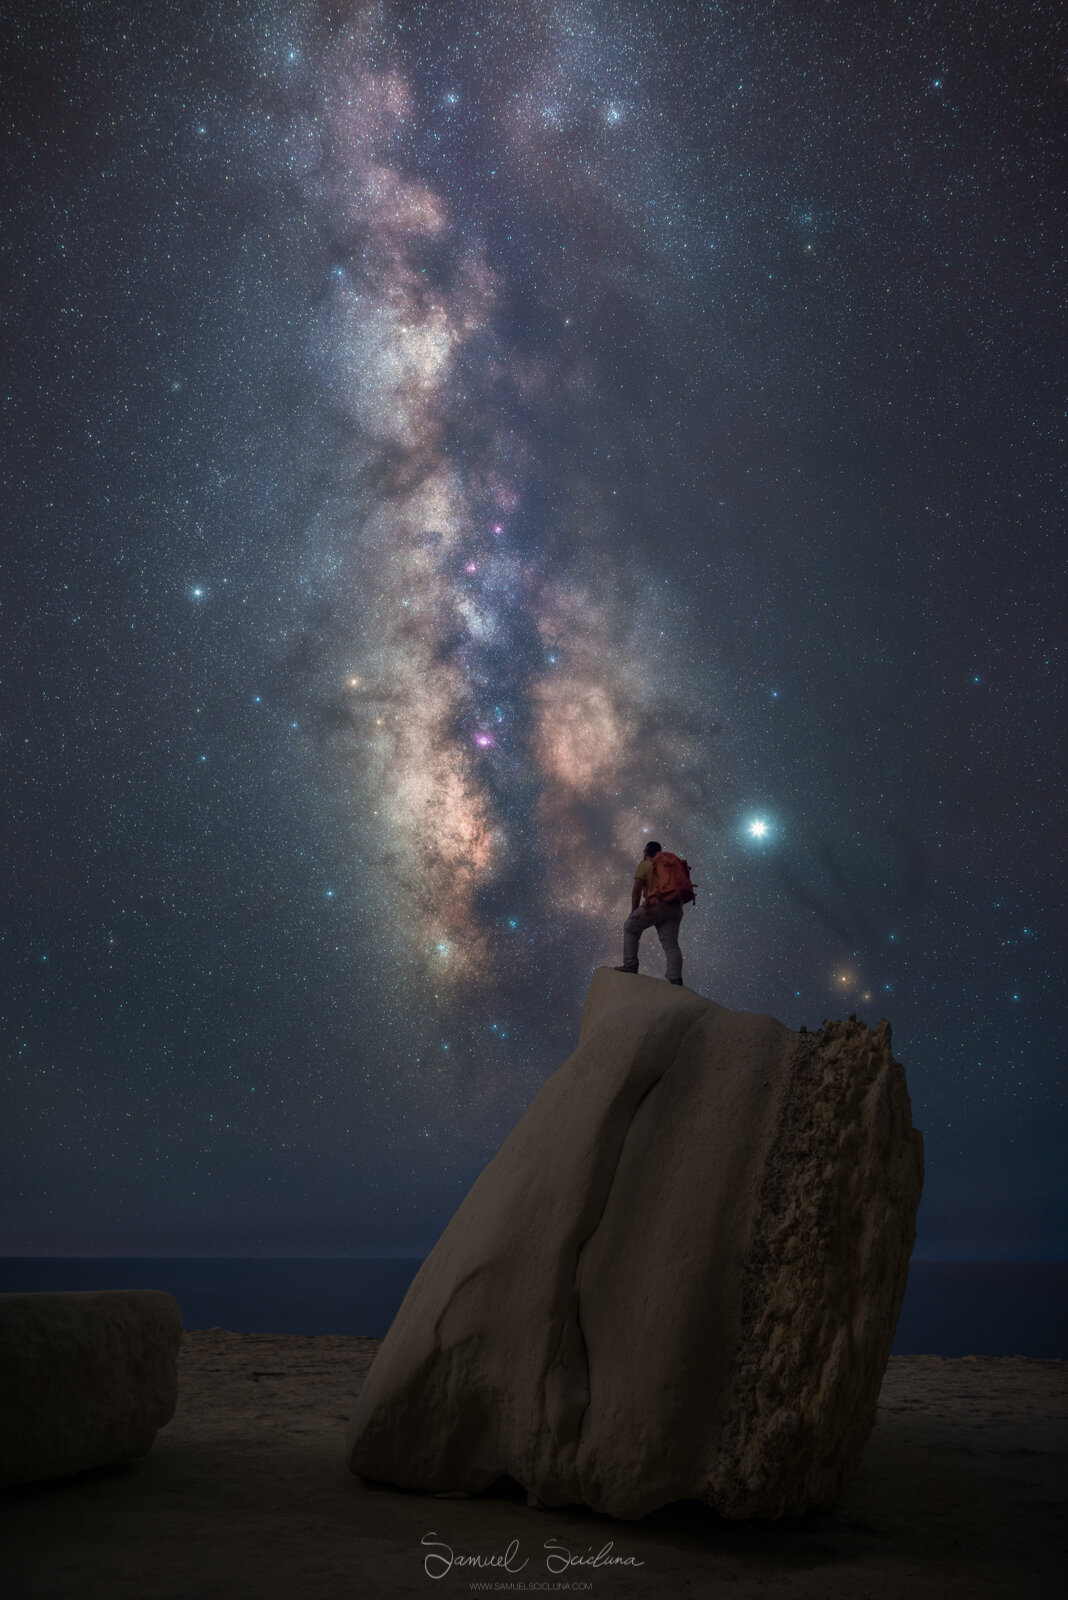
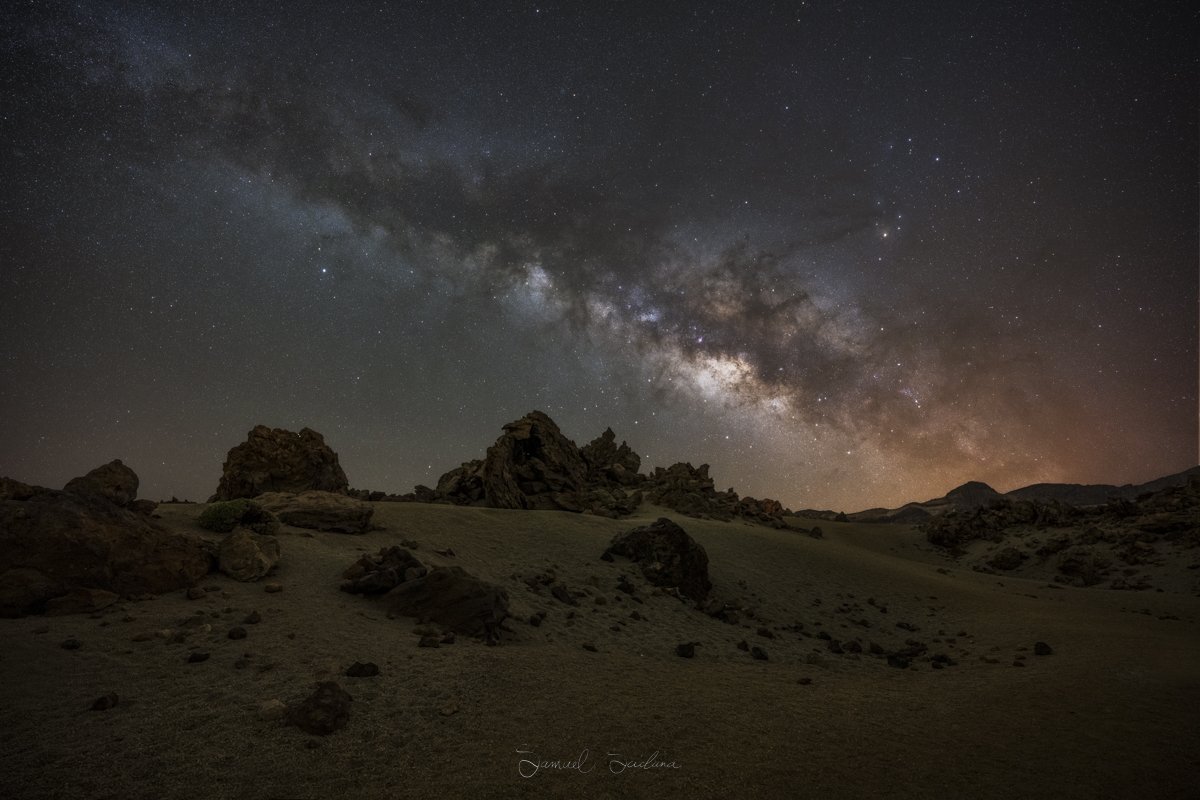
Below is a gallery of my Milky Way shots. All the shots captured in the last 10 months have been shot using the Focus on Stars filter.


