

Kirkjufell mountain in Iceland with awesome ribbons of the Northern Lights behind it during a KP5 (G1) geomagnetic storm.
Capturing an image of the Northern lights is not technically difficult, but coming away with a strong collection of images is very challenging! To capture good quality images of the Northern Lights, you need the right equipment, you need to know your camera, have a good understanding of the exposure triangle, you have to be lucky with both the levels of Auroral activity and the weather at your location, but most important of all, you need persistence and will power!
What are the Auroras? (The technical bit…)
The Aurora Borealis (Northern Lights) and Aurora Australis (Southern Lights) are a natural phenomena caused by electrically charged particles from the sun hitting the earth’s magnetic field, deflecting them down to the magnetic poles where they interact with molecules in our atmosphere. The amount of particles being deflected and their speed will both impact what the Aurora look like and their color. This blog will focus on the Aurora Borealis (Northern Lights) as I have never been far south enough to see the Southern Lights.
What creates them?
The collision of these molecules takes place anywhere from 80km to as high as 650km above the earth's surface. Auroral displays appear in many colors, although pale green is the most common, you can sometimes see shades of purple, red, yellow and blue! The lights appear in many shapes and forms, sometimes just a faint glow on the horizon, and other times bright and vivid streamers, coronas, arcs, curtains or bright beams that light up the sky with an unmistakable glow.

Very faint KP1 - KP2 Auroras glow in the night sky behind Skogafoss waterfall in Iceland.
Can I see them from my roof?
The location from where the lights are visible depends on the level of activity and is usually shown by the Aurora Oval map. Auroras are measured and graded based on the strength of the activity, on a scale known as the KP index. This scales varies from 0 to 9, where 0 is very weak, barely visible Auroras, and where 9 is extremely strong Auroras, possibly visible as far south as Austria in Europe and Florida in the USA! The best viewing of Auroras is from areas free of light pollution, it’s much harder to see them from towns and cities. (Like all other night sky observations such as the Milkyway, Meteor showers and Nebulae). The Auroras are usually visible to the naked eye from KP2 and above if the sky is dark enough.

KP3 Auroras dance above Arnardrangur sea stack near Dyrhólaey in Iceland.
It all depends on the sun…
The particles which collide with our atmosphere to create the Auroras all come from the Sun, and there are varying levels of activity. Strong Auroral activity is sometimes referred to as a Geomagnetic Storm, and is further graded in the G1-G5 scale, where G1 is similar to KP5 level of activity and G5 is similar a KP9 level of activity. KP5 is a good level of activity, and is considered somewhat common, and happens roughly 1700 times in an 11 year cycle. KP9 levels of activity on the other hand, are very rare, and only happen about 4 times in every 11 year cycle. Our Sun goes through an activity cycle that lasts approximately 11 years. This cycle sees the sun go from Solar Maximum (Highest amount of solar activity) to Solar Minimum (Lowest amount of solar activity). There is significantly more activity during Solar Maximum, which naturally means a much greater chance of seeing the Aurora. The last Solar Maximum event was in June 2014, meaning that we are currently heading towards a Solar minimum period. The next solar maximum is expected in 2025.
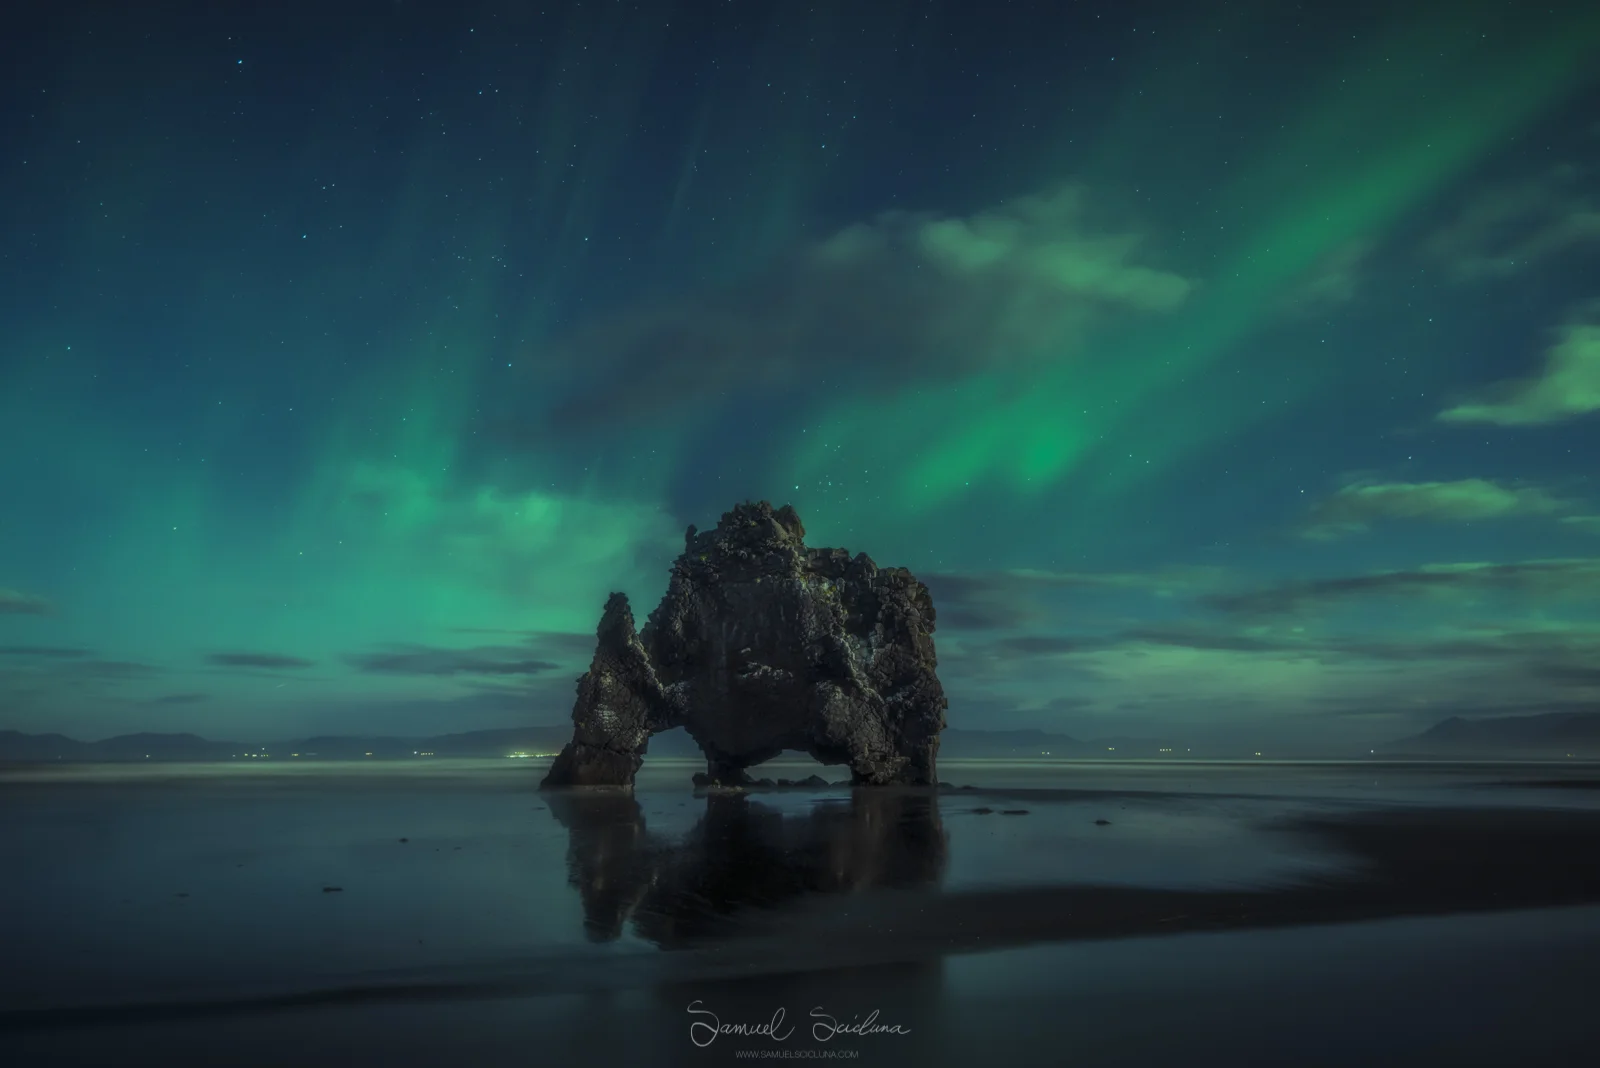
Hvítserkur sea stack in the North of Iceland with a KP2 level display of the Auroras.
Where and When?
The Northern Lights are mostly seen in the polar regions, usually within a radius of roughly 2500km around magnetic North Pole. This belt covers Northern Norway, Green, Iceland, The Faroe Islands, Northern Canada and Alaska. The Northern Lights can only been seen when skies are pitch dark, which excludes the summer months for all the above locations, as it never actually gets dark enough for the lights to be visible. In Iceland specifically, the Northern Lights are visible from September till April. The longer nights in the months closer to the winter equinox naturally give you a greater chance of seeing the Auroras dancing overhead.

This was the first time I saw purple Auroras and was captured at Jökulsárlón in Iceland.
Can the Auroras be predicted?
There are several Apps and websites which give a foreast for Auroral activity ahead of time, unfortunately, due to the nature of the Aurora, you can’t rely on these completely. The best way to ensure you see and capture the Aurora is by being flexible, planning your locations based on weather forecast and just going out and waiting for hours to ensure you don’t miss the show!
The weather is extremely important when hunting Auroras. You can have a Geomagnetic storm overhead, but if its cloudy, you won’t see a thing! Therefore its super important to move with the weather, and always look for areas which don’t show cloud cover overnight.

This was the amazing night at Stokksness where we had KP7 Auroras. This is an example of a short exposure, just 1.5 seconds at ISO 6400.
Capturing the Aurora on a camera
Like any other form of night sky photography, you need to let as much light as possible into your camera, this means longer exposures, higher ISO and wide open apertures. Unfortunately though, its not as simple as just using a 30 second exposure, an aperture of F2.8 and an ISO of 800 all the time. You will need to change settings on the fly depending on what the Auroras are doing. If its just a faint band of green on the horizon, you can probably get away with a 30 second exposure, but when the Auroras start going berserk, you need to shorten your shutter speed to maintain the crisp bands, and this will mean increasing your ISO to match.
When I witnessed KP7 Auroral activity in Stokksness, Iceland, in September 2017, I was at times shooting with shutter speeds as fast as 1 second and an ISO as high as 12,800, this is because the auroras were moving so fast that anything else would just show up as a green blob, rather than a nice sharp Aurora band. This is where the equipment you use can make a significant difference. Any entry level modern DSLR should give usable images (Not too much noise) shooting 30 Seconds at ISO 800, but when you crank it up to ISO12,800 and much shorter shutter speeds, these cameras will not deliver printable images.
Can I capture the Northern lights with my Smart Phone?
Yes, it is possible to capture photos of the Auroras on your phone. It will be highly dependent on the strength of the Aurora (The Strong the activity, the more they will be visible, and therefore more likely that you will be able to capture them on your phone).
You will also need a tripod to hold your phone still, and if possible, have manual control of the phone’s camera (Shutter sped and ISO). The image will not be print quality, but certainly enough for you to remember that awesome night and post them to Facebook or Instagram!

Another shot from that amazing KP7 display. This is another short exposure, to ensure the ribbons don’t lose detail and become blurred.
Equipment needed to photograph the Northern Lights:
Sturdy Tripod – You want a sturdy tripod, especially in Iceland, the wind is brutal!
A DSLR / Mirrorsless camera which has a manual mode
A Wide-angle lens that is as fast as possible (Ideally f2.8 or faster)
Intervalometer (To capture time-lapse sequences or exposures longer than 30 seconds)

An explosion of Auroral activity behind a random mountain in Iceland.
Conclusion
Knowing your camera inside out and being able to focus, change your composition, aperture, ISO and Shutter speed in complete darkness is a must. This is because Auroral activity is very time sensitive, you don’t know if the wonderful show you are witnessing will last a minute or a couple of hours, so when shooting, every second and every frame counts.
Rant - If you are shooting with other people and keep using a torch / headlamp to check your camera settings, you are going to put unwanted light on the foreground, messing up other people’s shots and making them very angry! Just like when shooting the Milkyway, light discipline is extremely important. Its disrespectful to keep shining light and spoiling other people’s photos. Rant Over!
Useful Links